SCHAUBLIN 70 Clockmaker Lathe Refurbishment
Rather than buying such a complete lathe, I’ve picked up bits and pieces here and there. I’m busy putting them together to make a nice, functional and precise lathe..
Sept. 2026 – On-going
The SCHAUBLIN 65 and 70 lathes have built up a very solid reputation over the years. Although it’s still possible to buy a new one, the list price is, all things considered, extremely high for an amateur machinist like me! Prices on the second-hand market for older models are a little more affordable, but are still quite high. So I decided to buy incomplete sets, select the best components from them, and sell off the surplus parts on the second-hand market. Have I come out ahead? I’m not sure, but for now I’m enjoying putting together a nice clockmaker lathe, hoping it will work flawlessly.
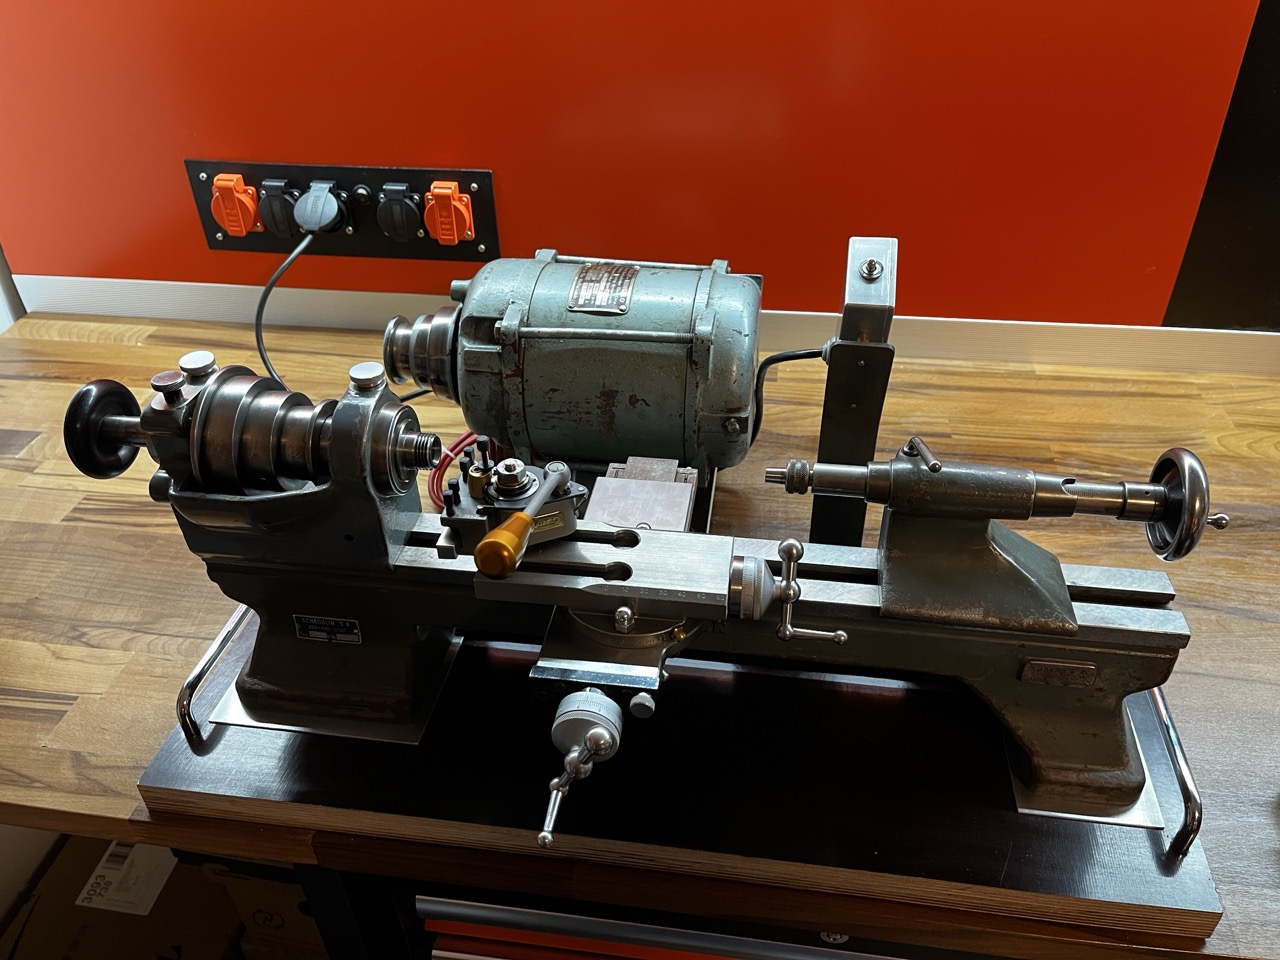
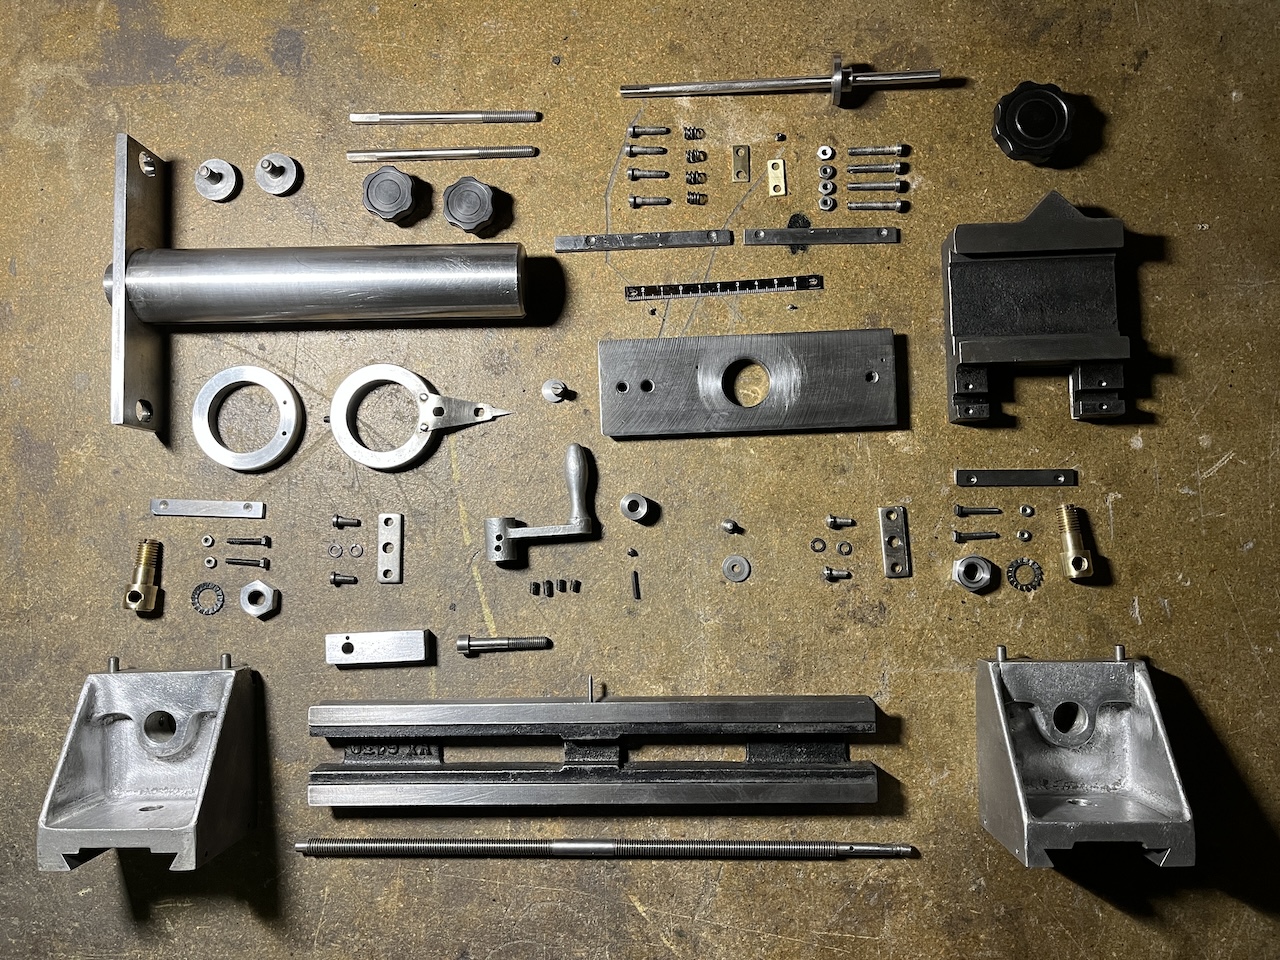
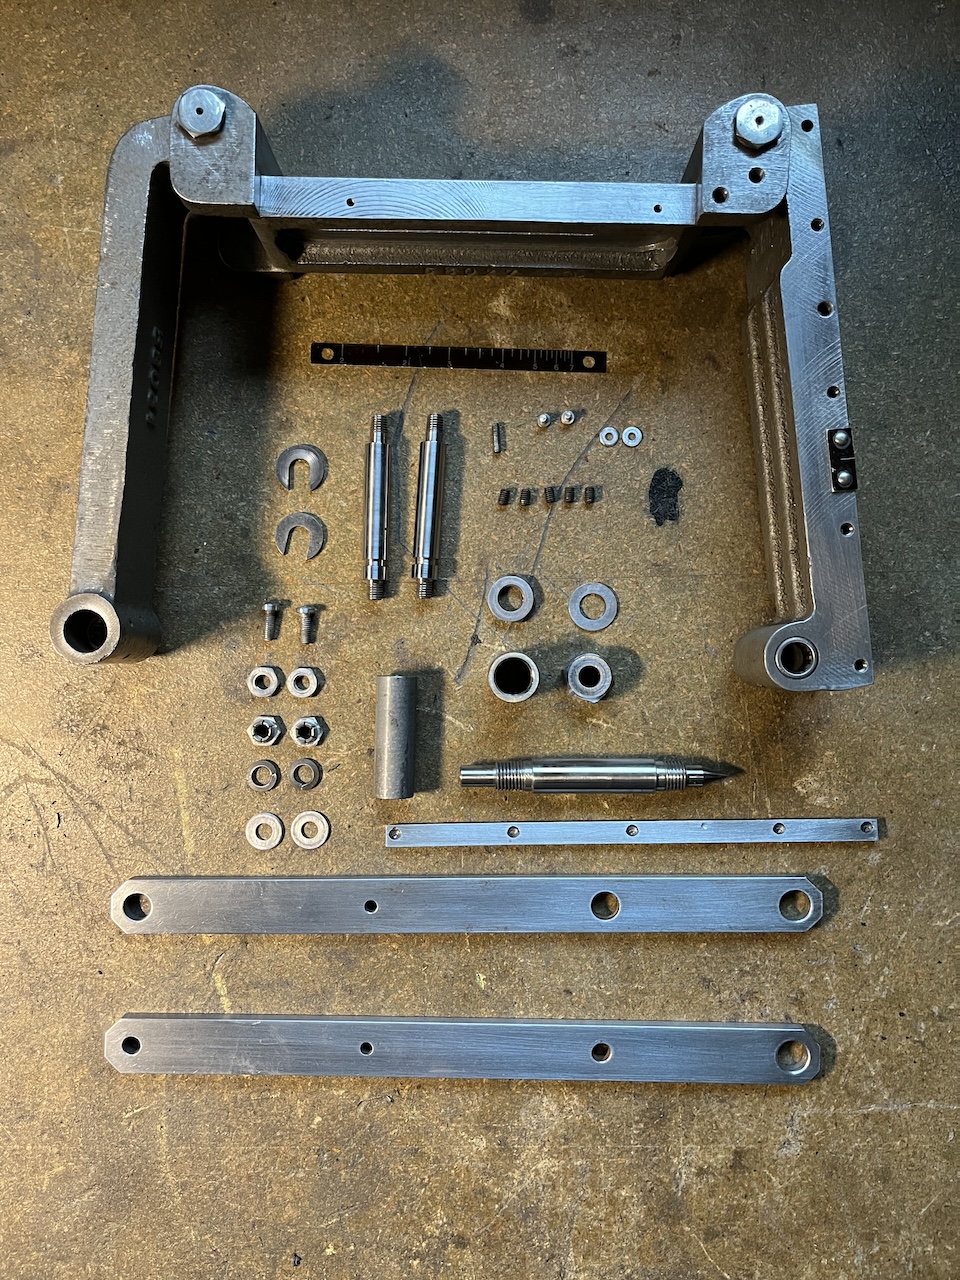
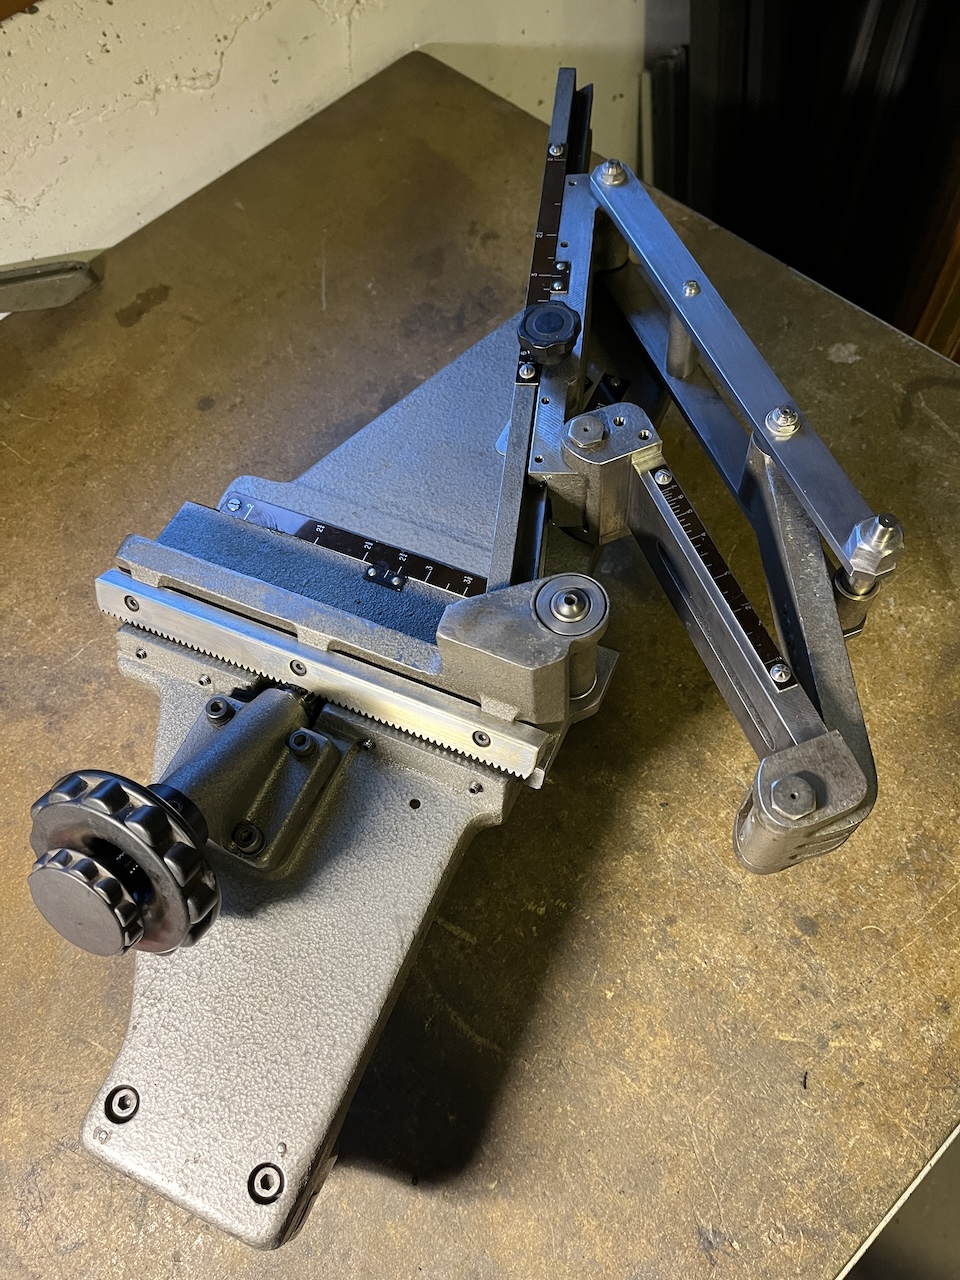
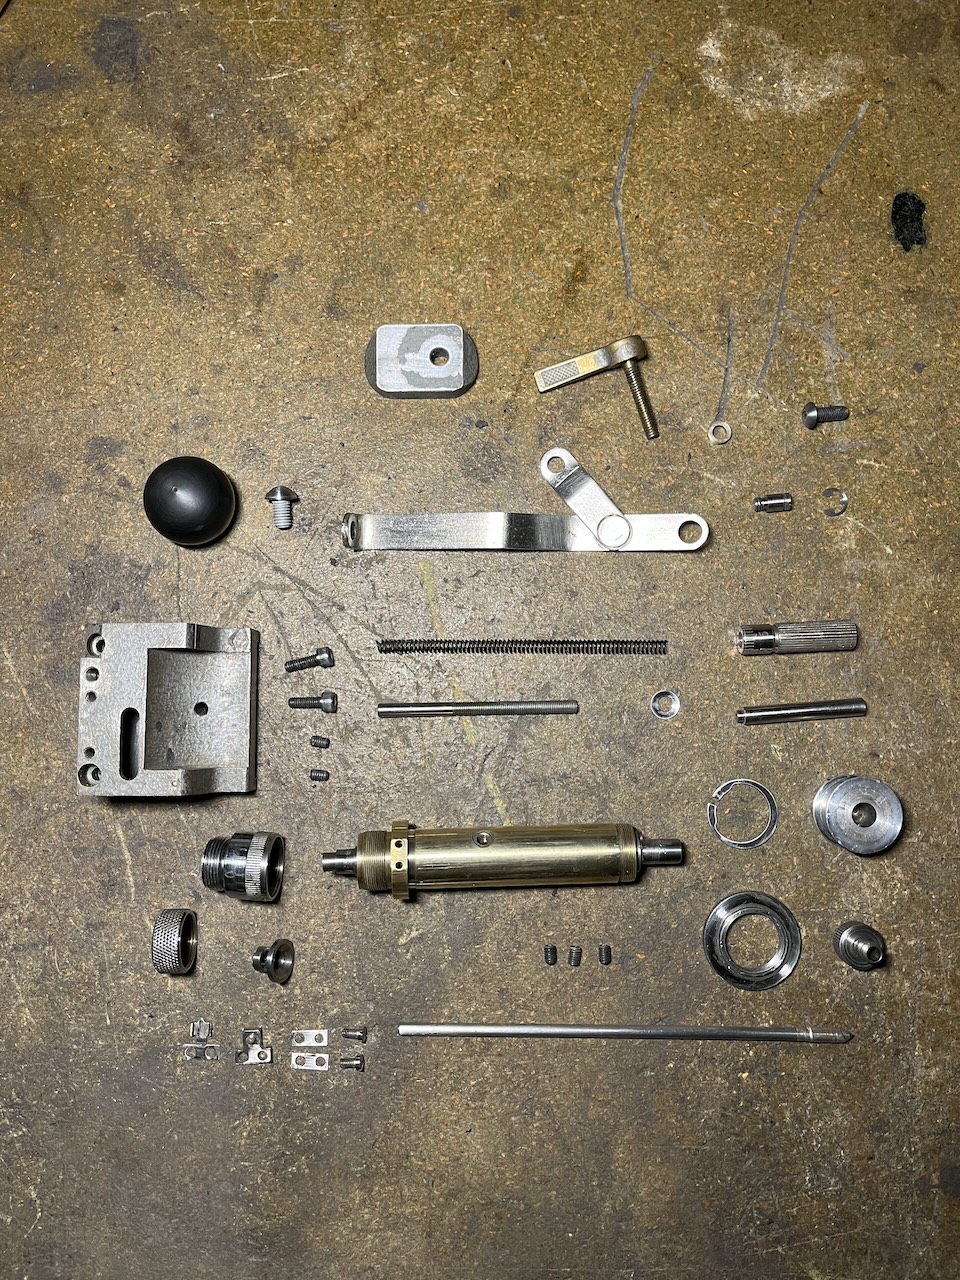
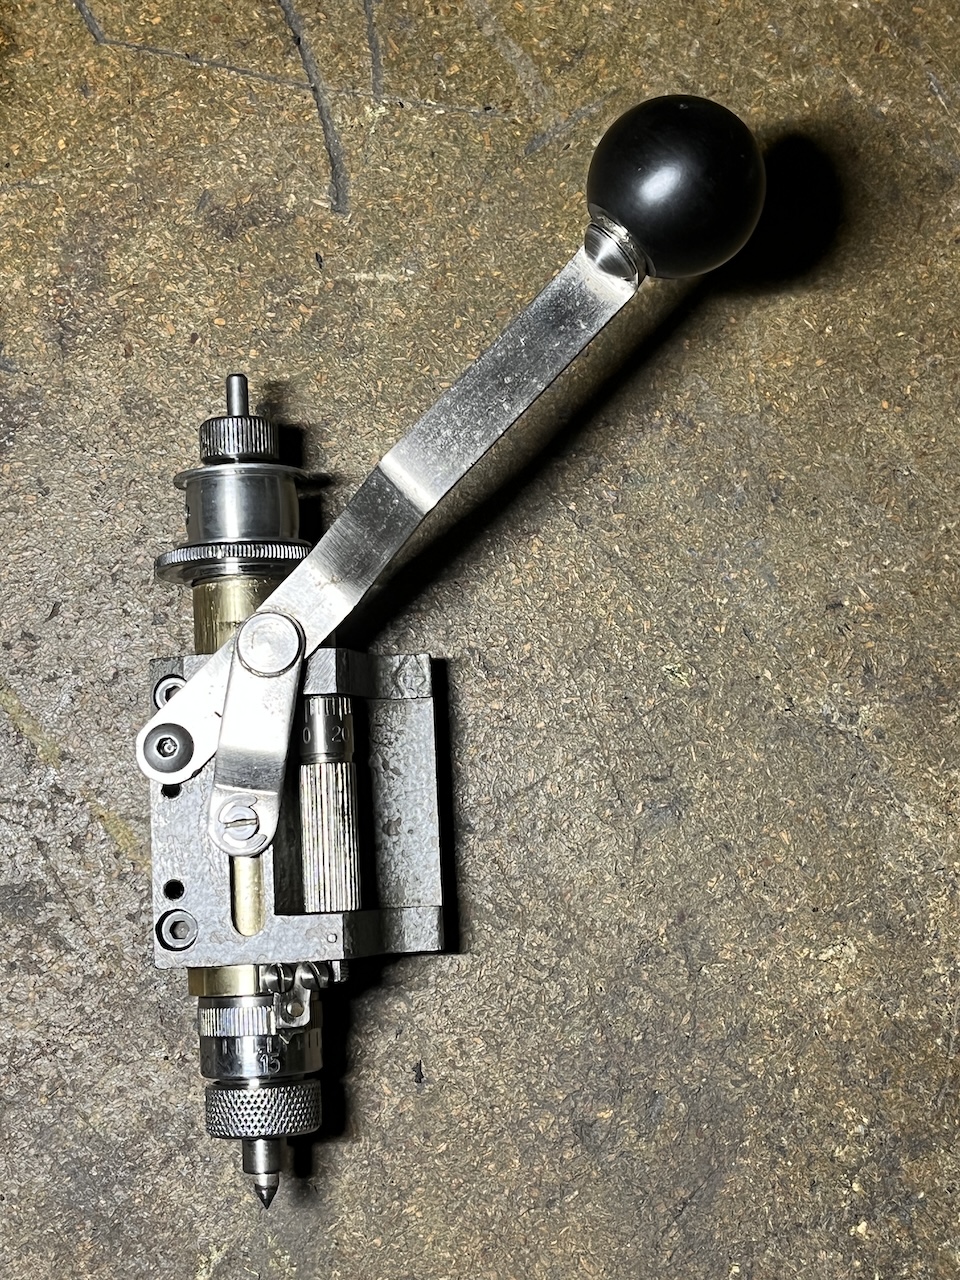
Here's where I'm at with my acquisitions
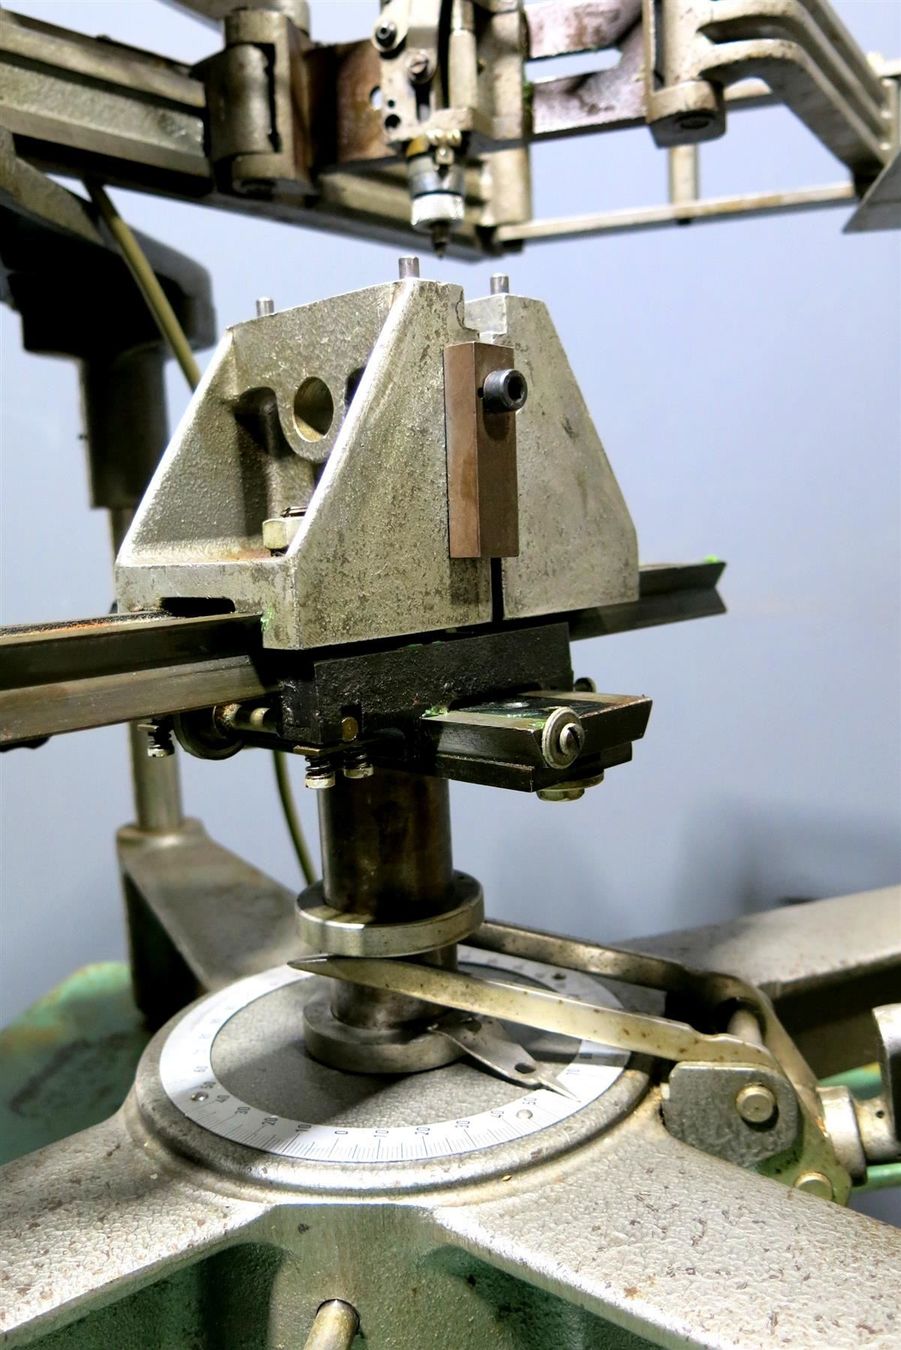
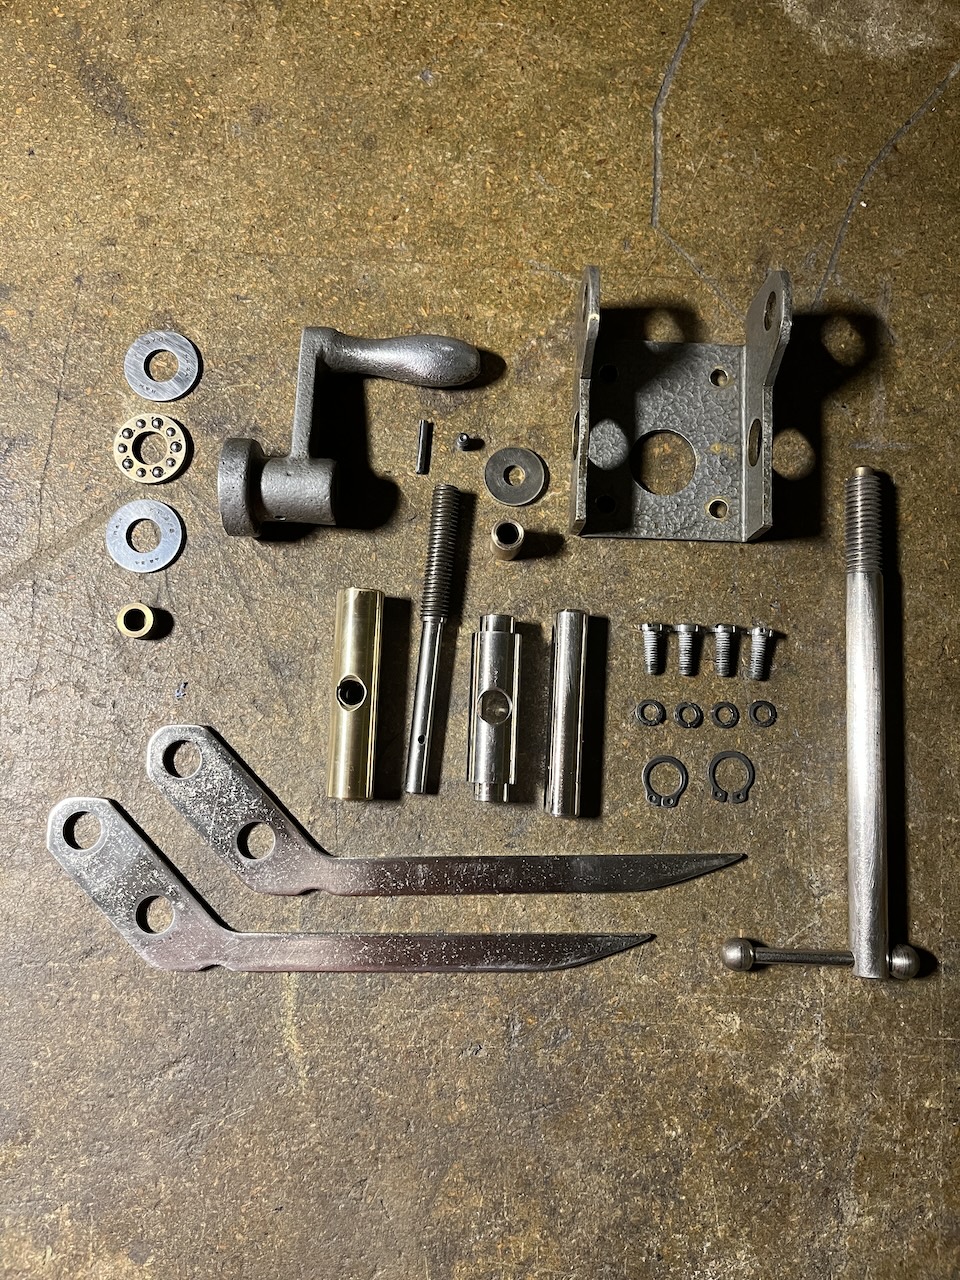
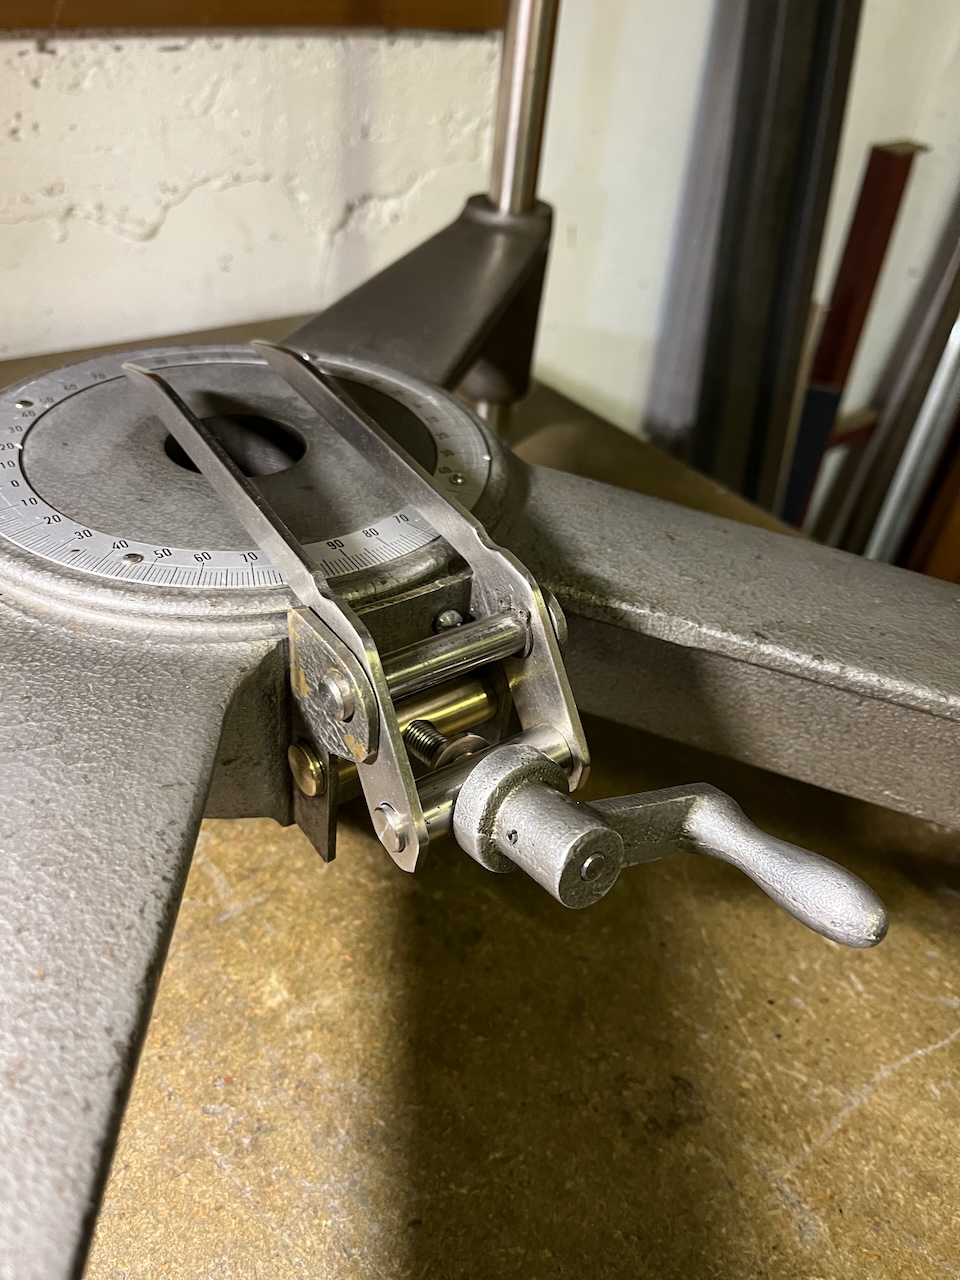
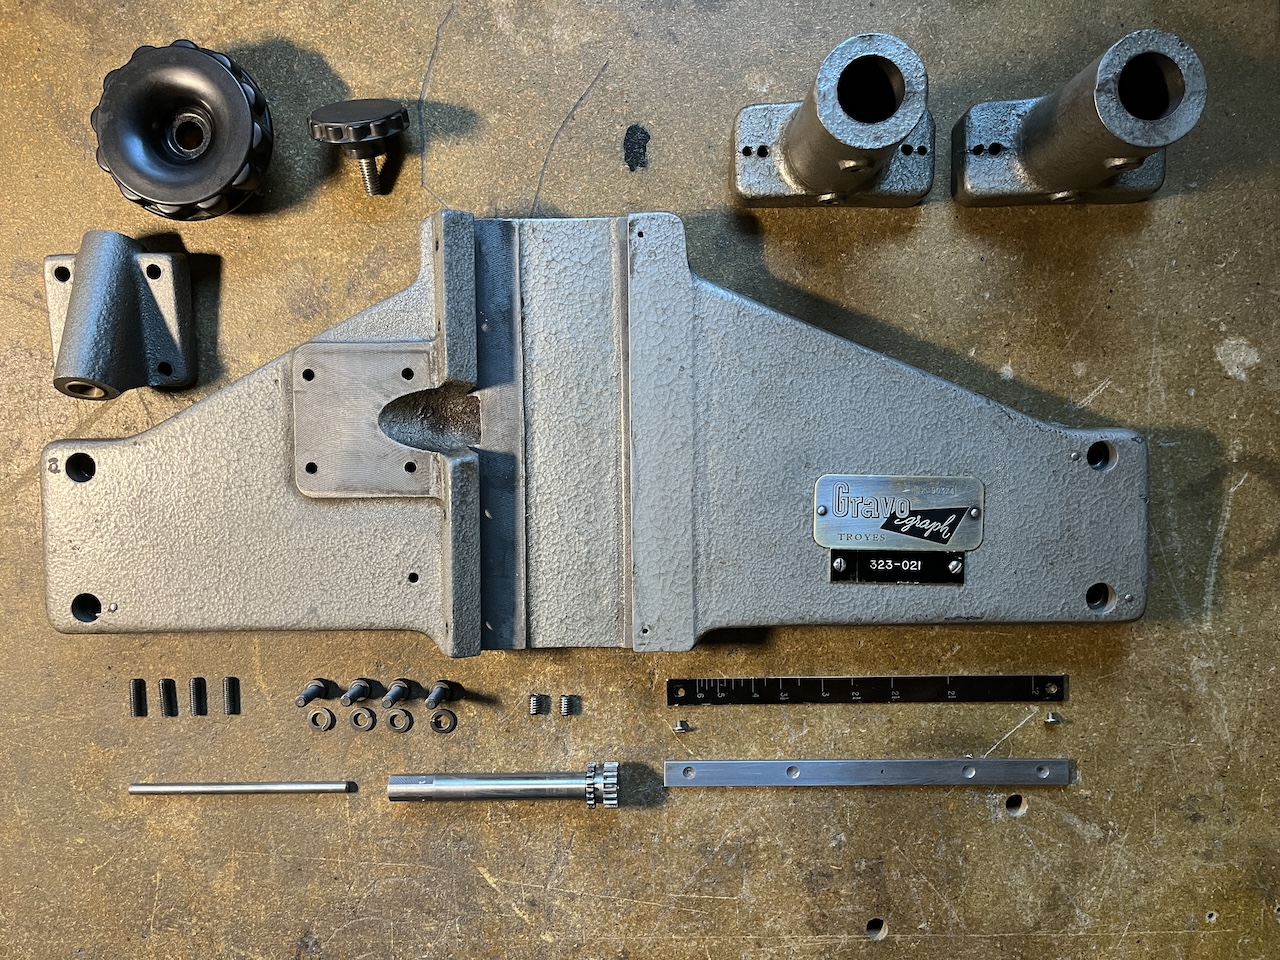
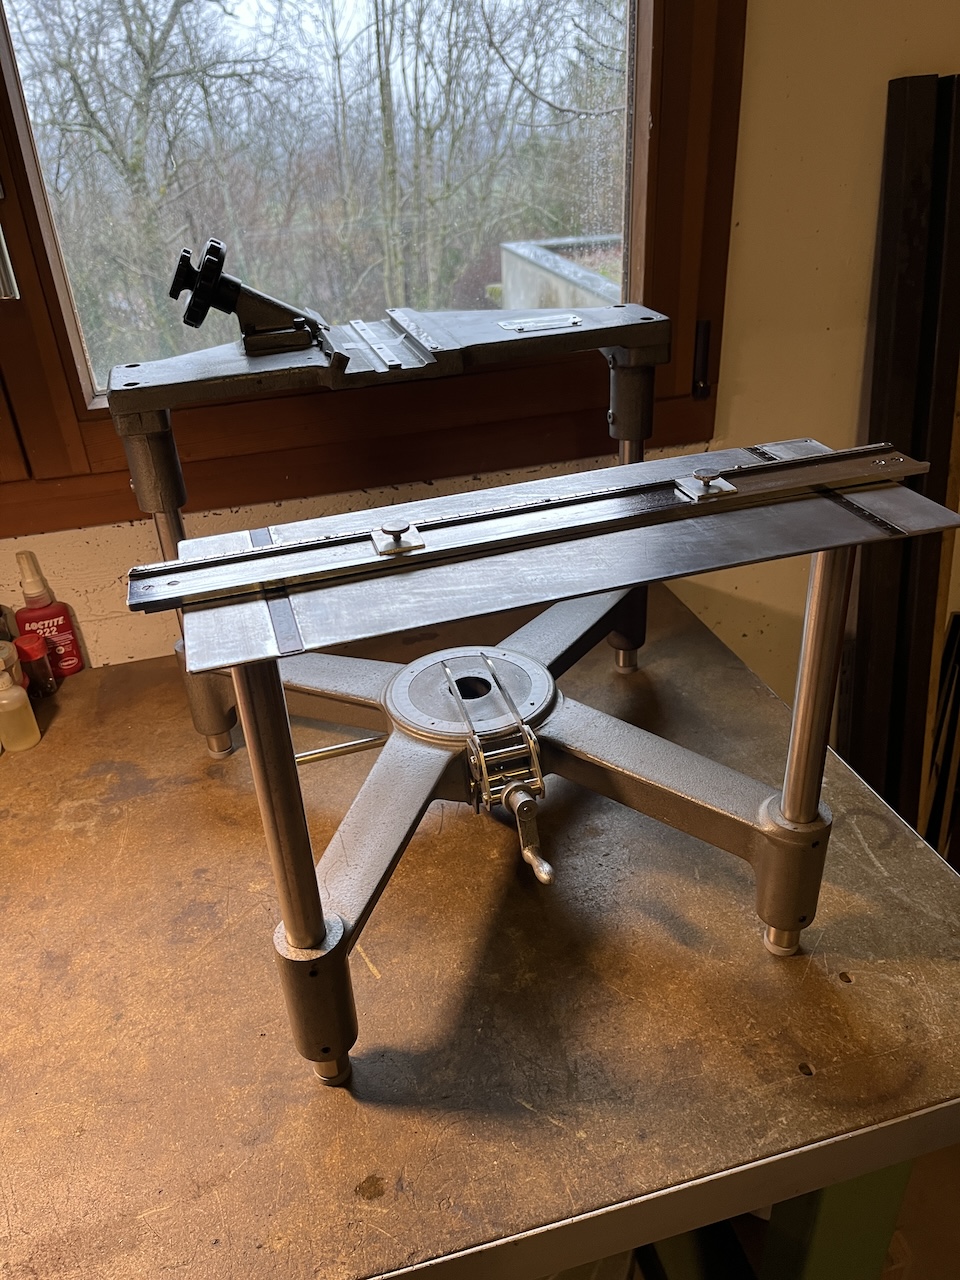
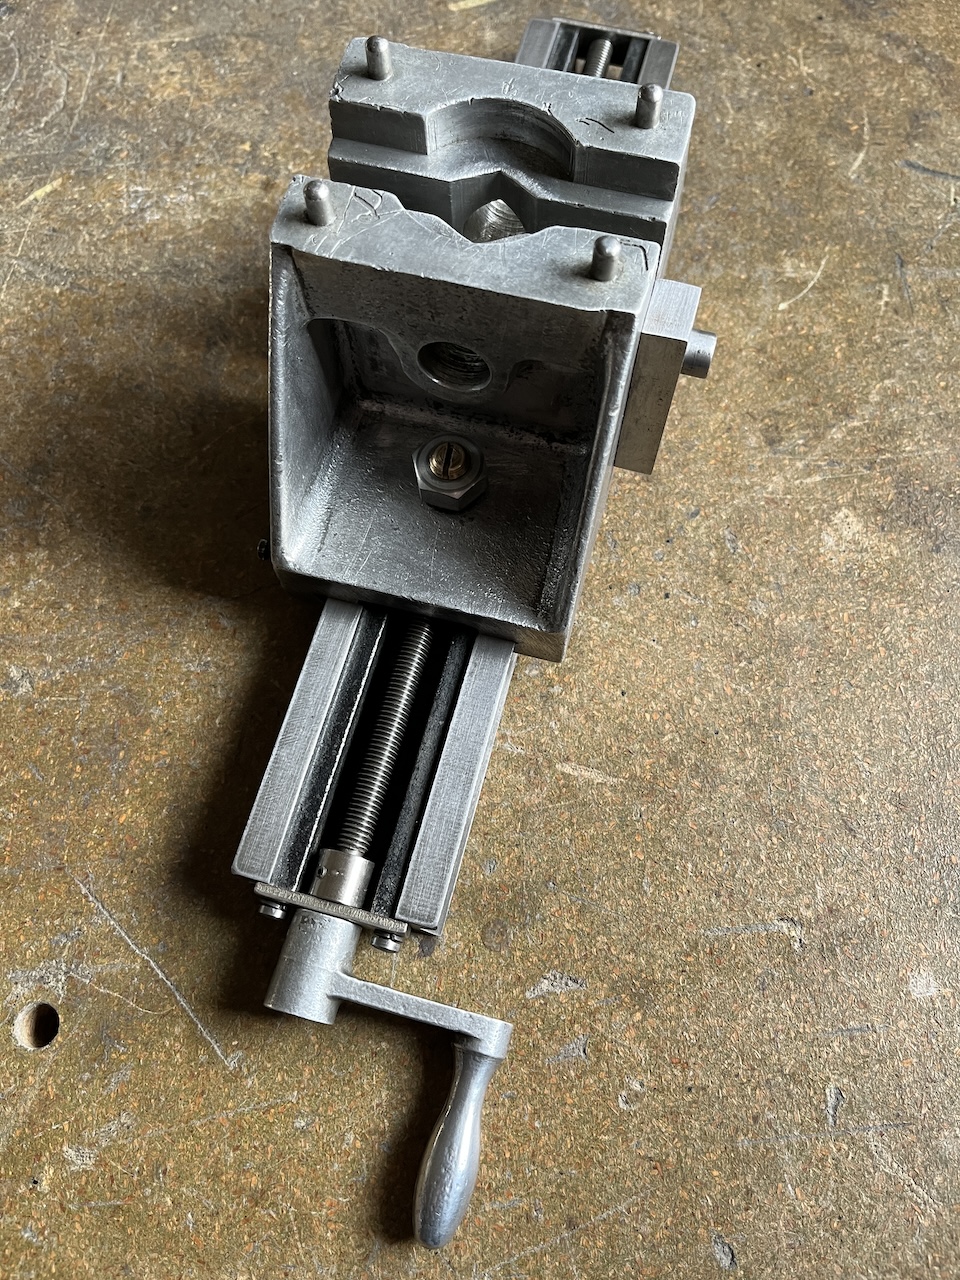
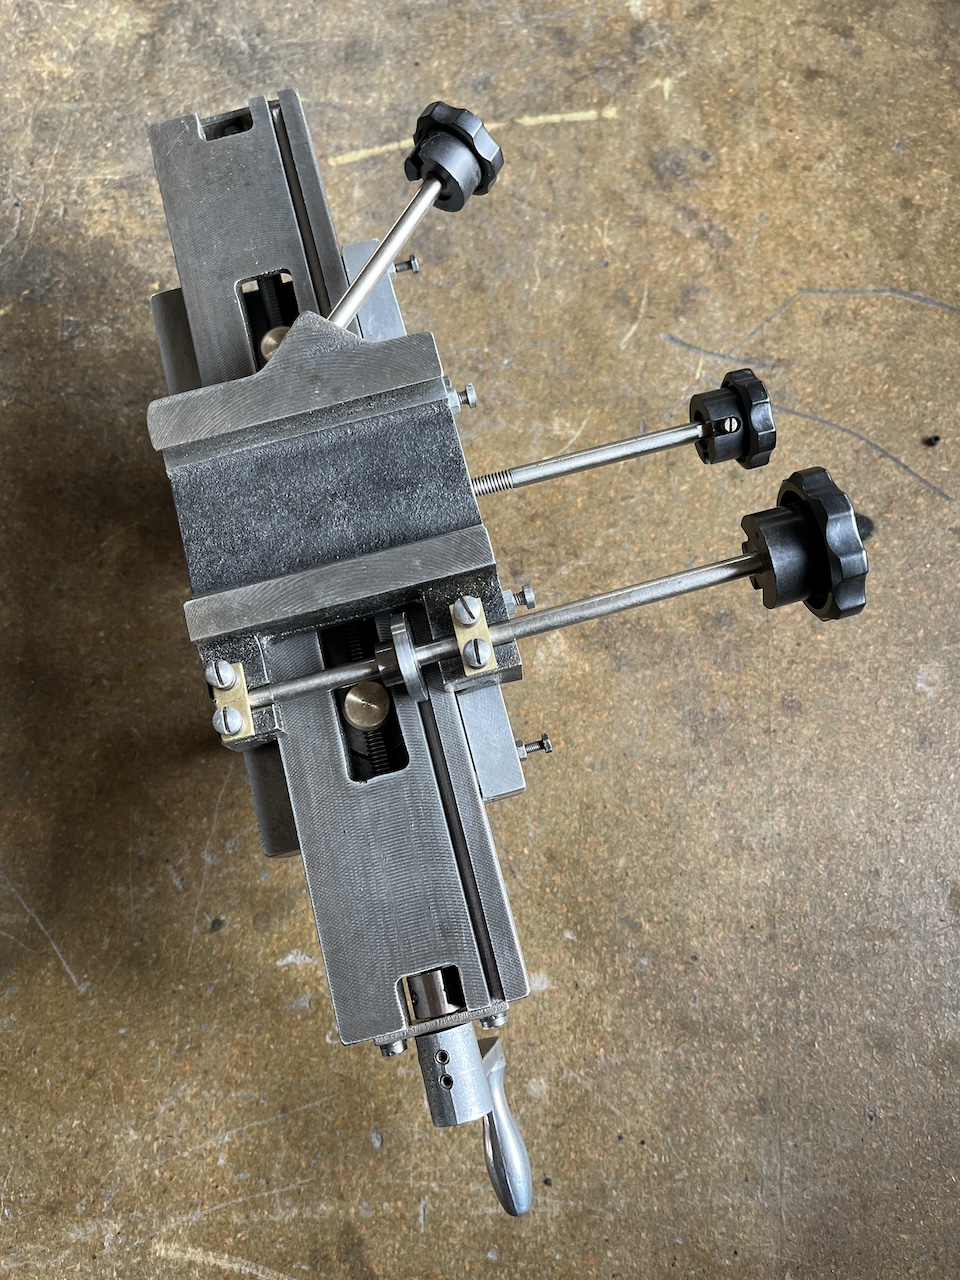
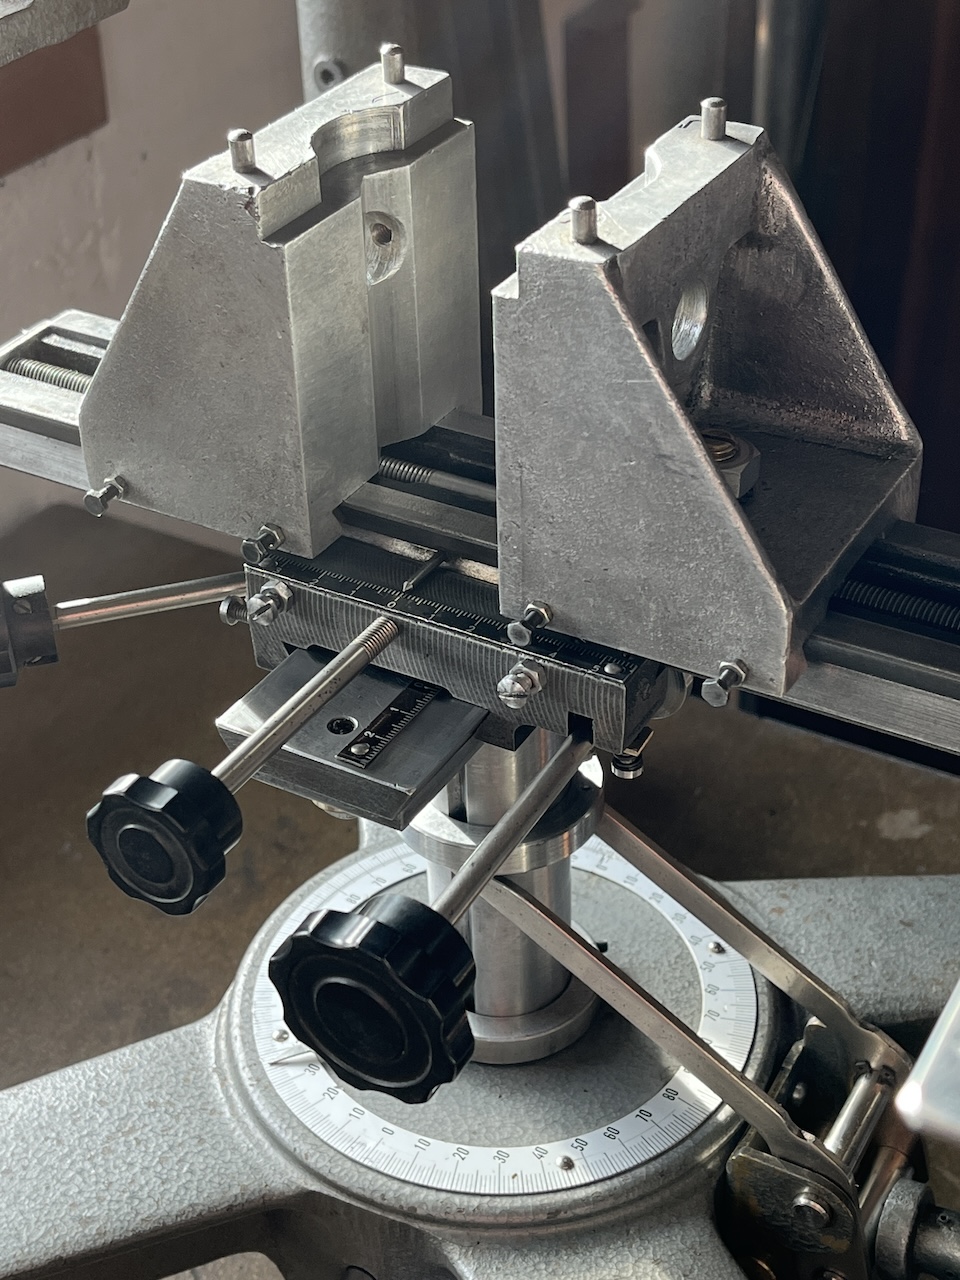
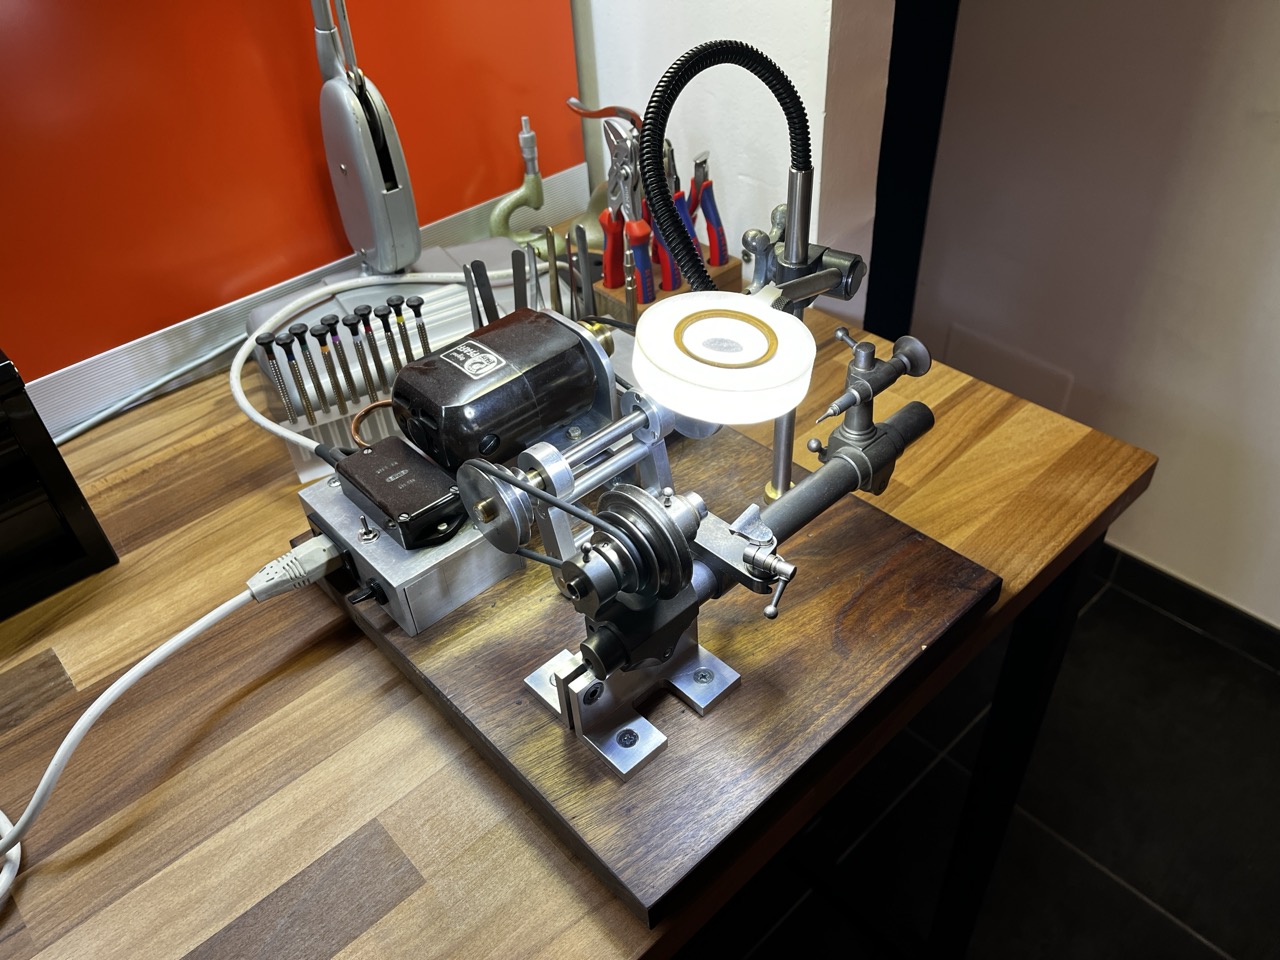
Well, I’ve got the basic equipment: a bench bed with clearly visible scraping marks—which, it seems to me, is a sign of precision—, a 1950s-style headstock with plain bronze bearings and a NADELA AX-5-2542 needle thrust bearing to counteract axial forces, a screw-operated carriage of a fairly recent version, a screw and handwheel-operated tailstock, and a very solidly built 230 V electric motor.
What I’ve had to do: build a base plate to mount the lathe and the motor on, and refurbish the electrics. And what I still have to do for the time being (November 2026): refit a flat drive belt.
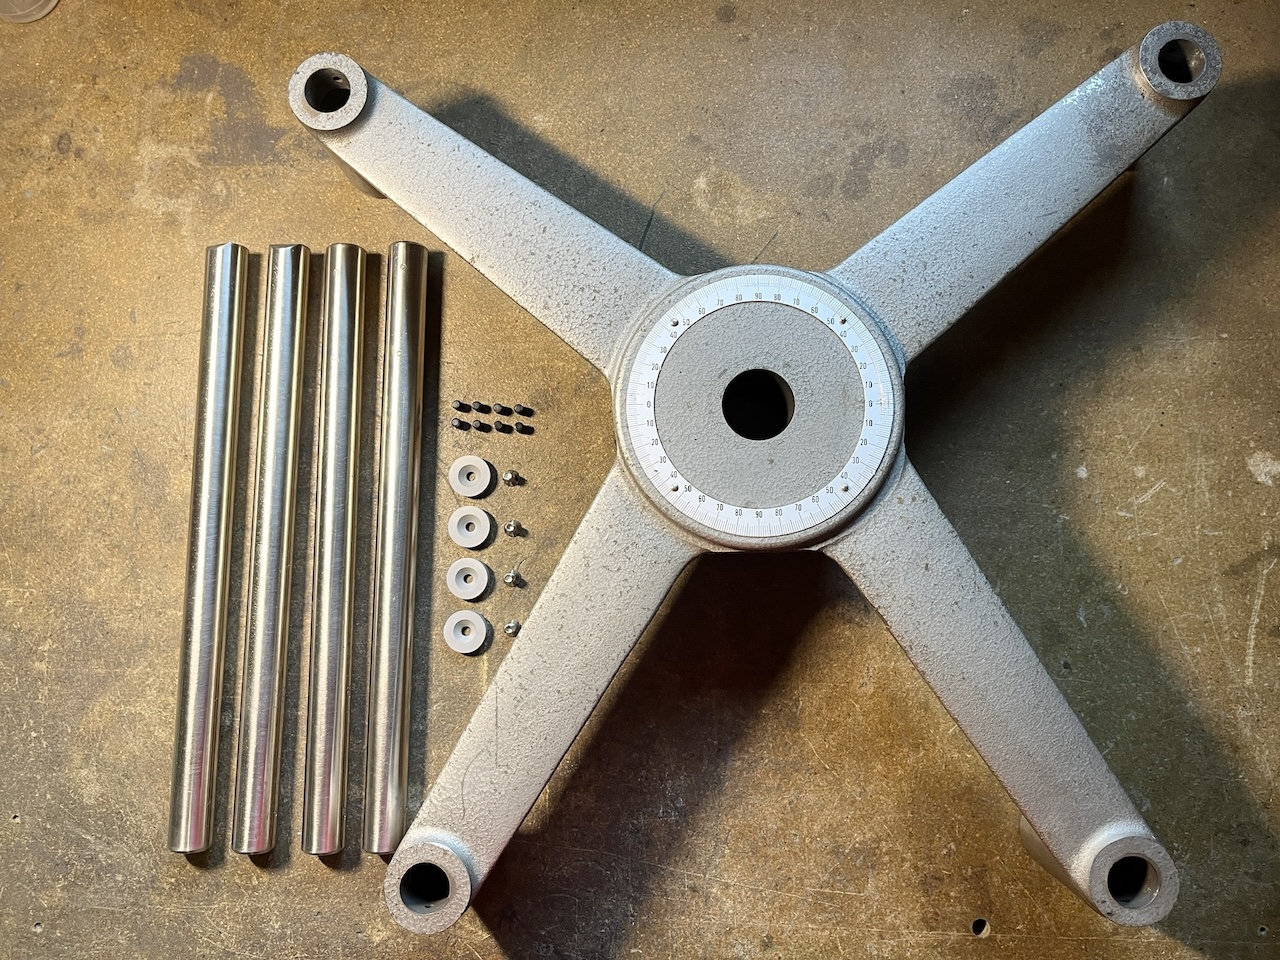
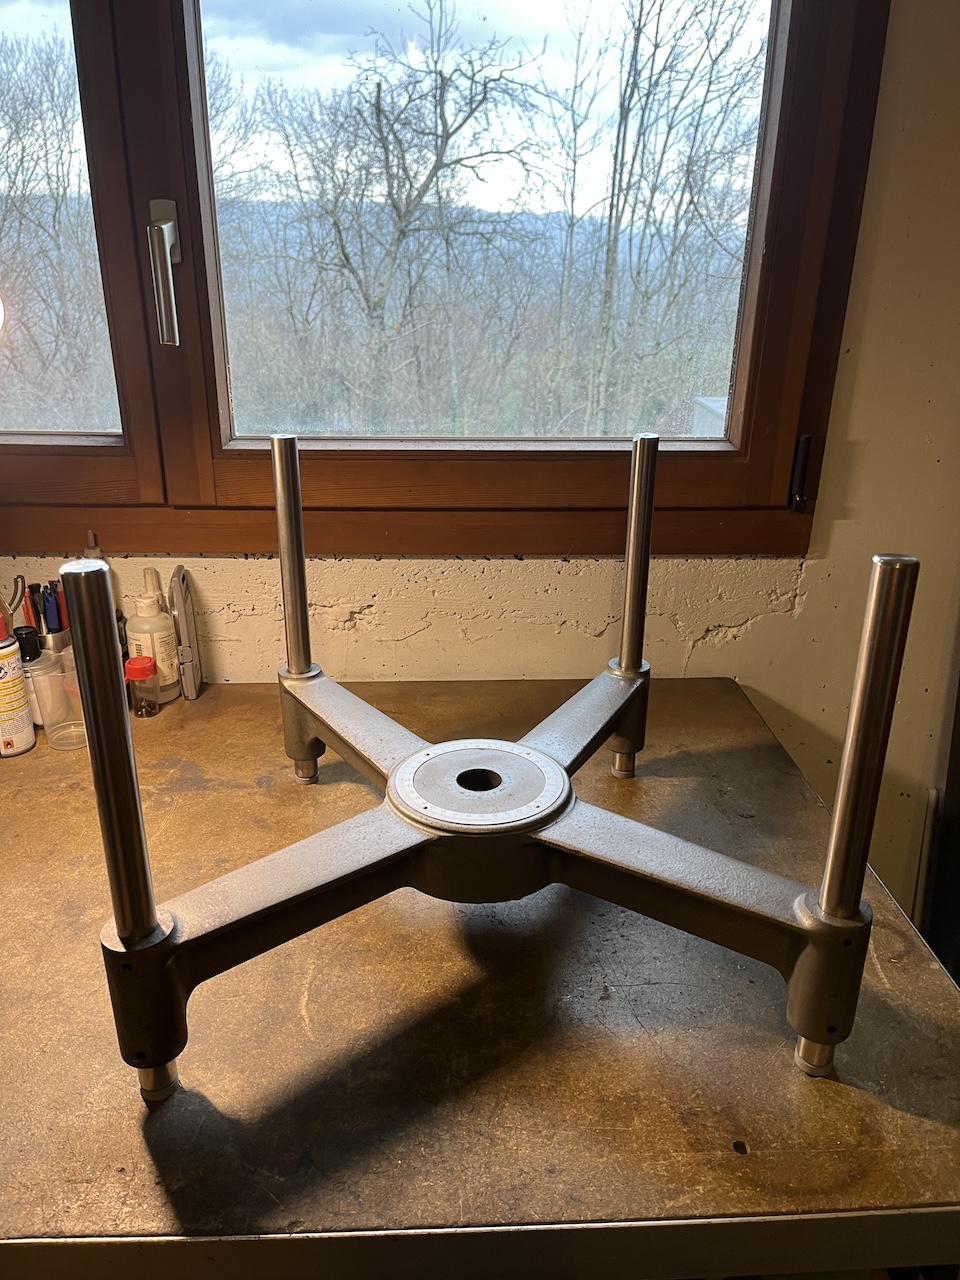
I still had a few offcuts of bakelite-coated plywood left, including one that was 25 mm thick. It seemed to me that it was very rigid and suitable for the job. The SCHAUBLIN installation manual provides some details regarding the supporting structure, emphasising that the lathe bed shall rest on three small domes and not on a wooden table top. I therefore added two aluminium plates beneath the base, with the intention of fabricating these three support points at a later date.
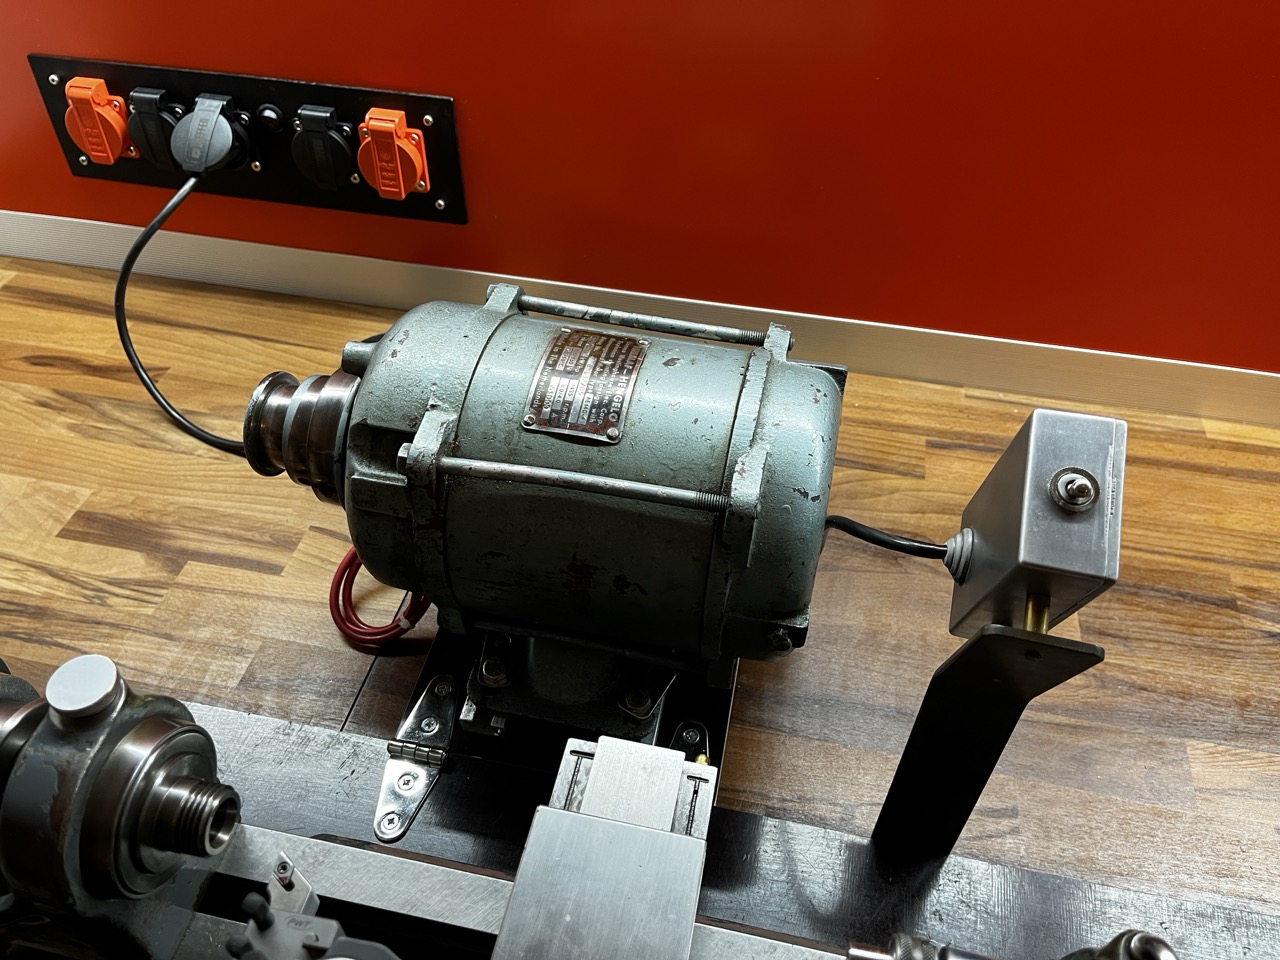
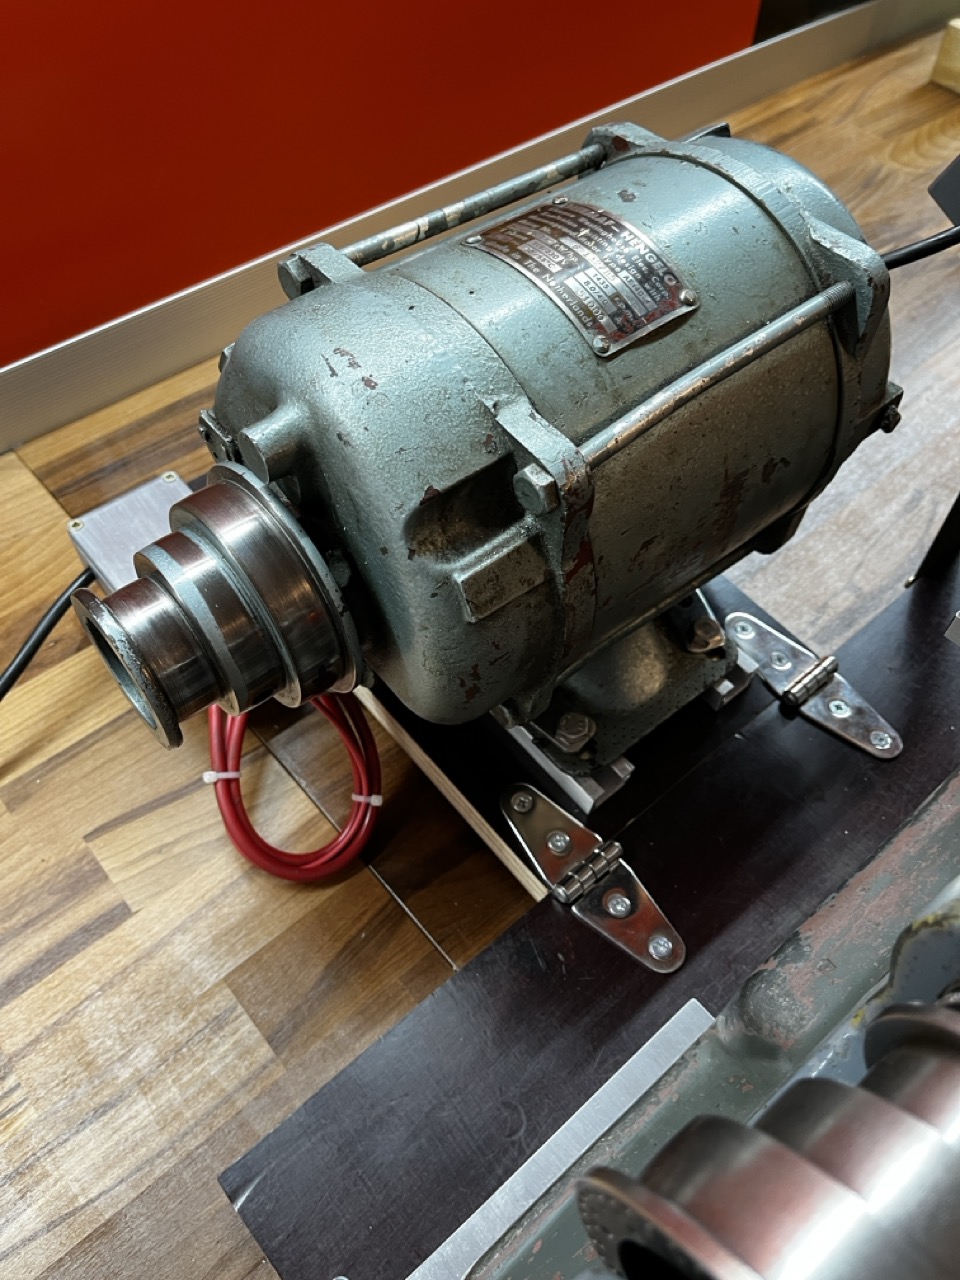
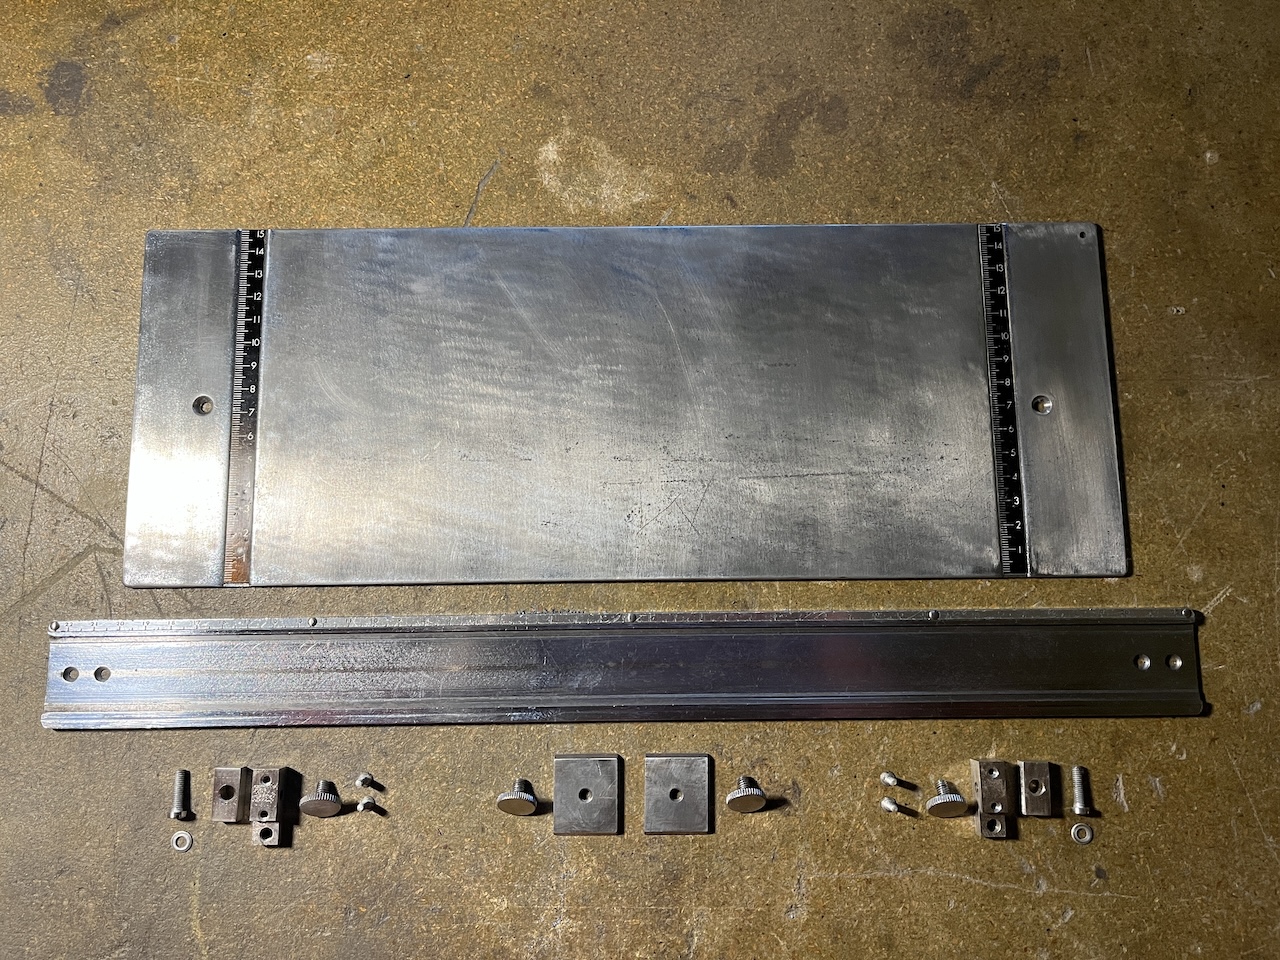
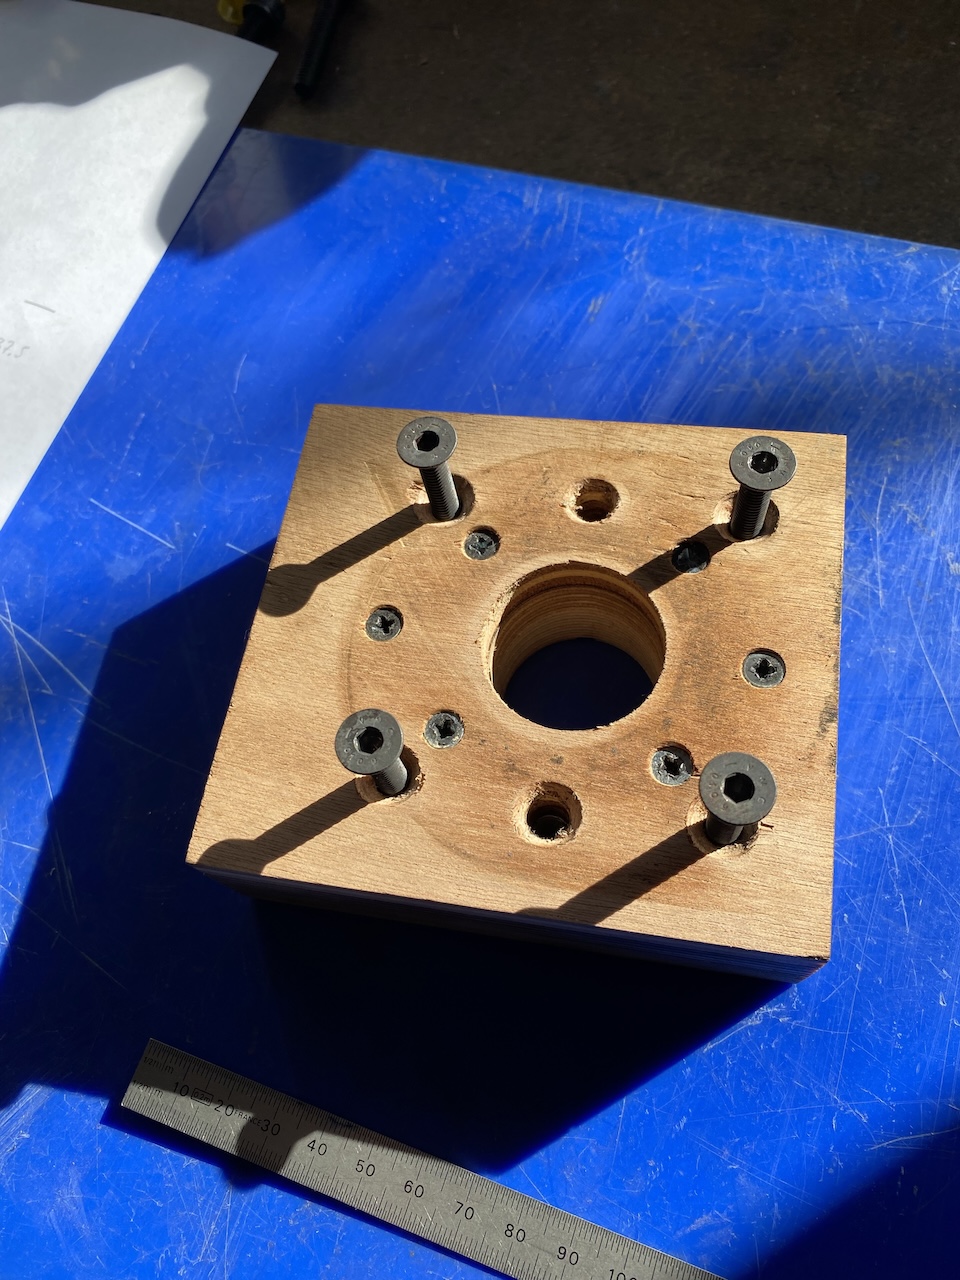
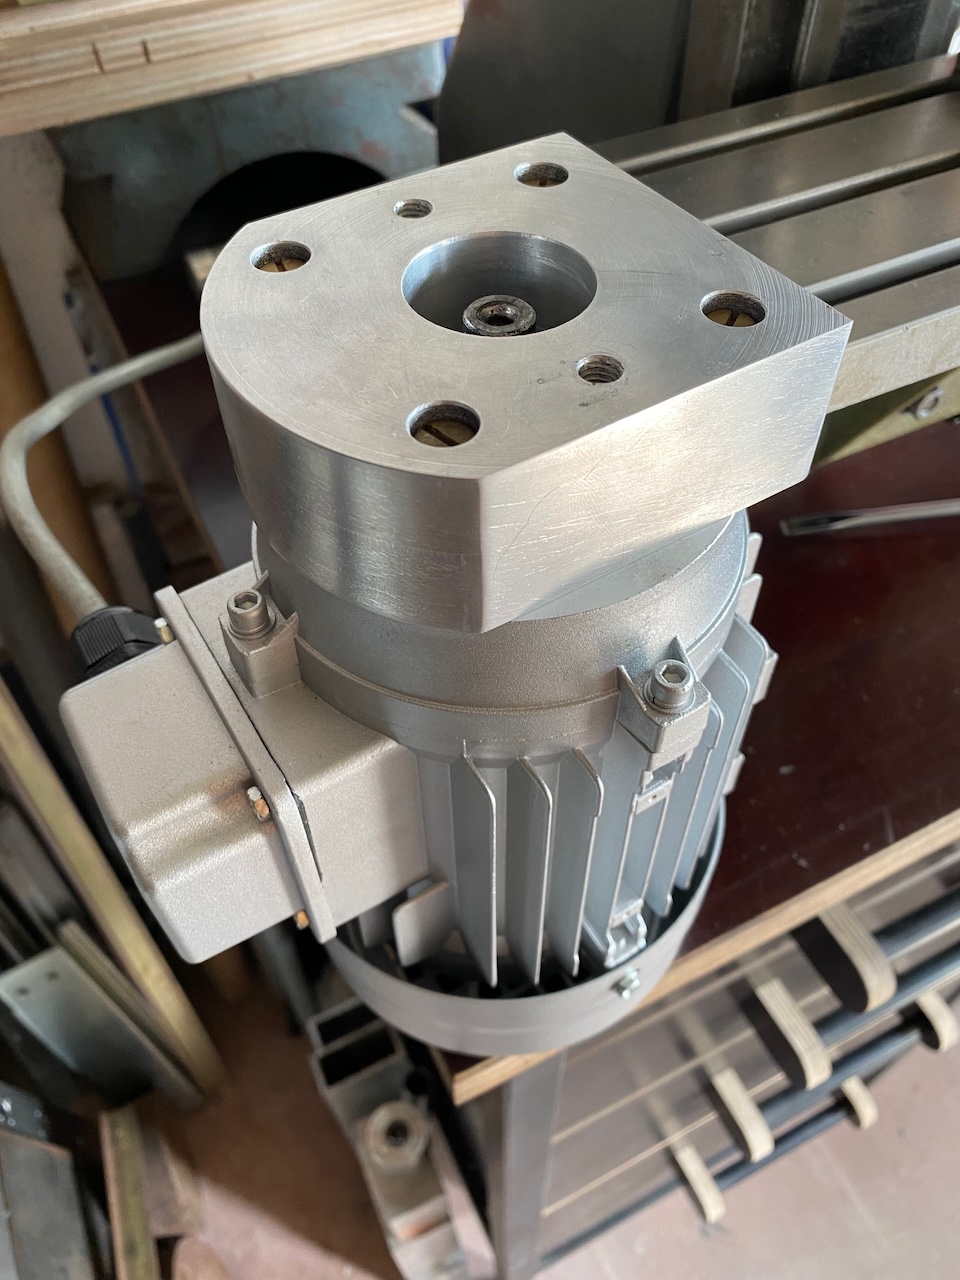
The motor, for its part, is mounted on another offcut of bakelite-coated plywood, articulated by means of two solid hinges purchased a very long time ago from a marine supplies shop. Two aluminium rails for T-nuts provide some adjustment to the motor position and hense to the belt tensioning.
Selecting and adapting an electric motor
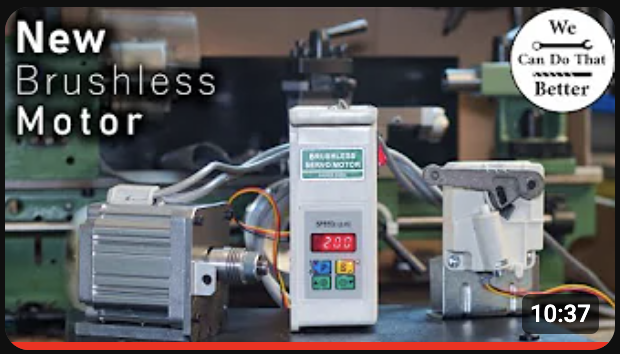
I had several options available: to use a 230 V motor—;the very same one used by the seller from whom I bought some parts and accessories—or to use a slightly more powerful three-phase motor, or even to opt for an industrial sewing machine motor. I opted for the simplest solution, bearing in mind that nothing prevents me from choosing another option if this one proves unsatisfactory. A three-phase motor would have required the use of a variable-frequency drive, and experience has taught me that older motors (around forty years old or more) are not designed to operate with a VFD. The inverter reconstructs a sinusoidal signal that is slightly choppy, which results in premature wear of the motor. The option of using a BLDC sewing machine motor is likely to be effective, but it would have required the making of a three-step cone pulley and a slightly more elaborate motor support system, and I didn’t have the time to build all that.
I’m quite pleased with the new wiring. These old cast aluminium boxes (or perhaps it’s Zamak) and this vintage switch I picked up at a flea market look really great. The wiring was carried out with the utmost care using WAGO connectors.
Fitting a new drive belt
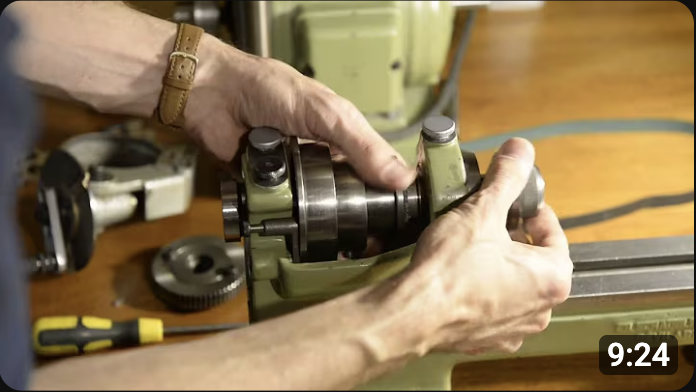
Unfortunately, none of the three headstock units I purchased had drive belts in good condition. Traditionally, the drive belts on SCHAUBLIN lathes are flat belts spliced on site: there is no need to dismantle the headstock to slide an endless belt around the spindle shaft. However, the assembly procedure requires equipment that I do not have and which is, all things considered, rather expensive. There is indeed a tutorial online for making this equipment yourself, but a YouTube video by S. Vance convinced me that dismantling and reassembling the headstock of a SCHAUBLIN 70 lathe, of the same model as mine, was feasible without significantly compromising its accuracy. Especially since the spindle needed inspection. As I write this, I’ve ordered a few MEGADYNE and SPEEDFLEX endless belts.
Oiling the bearings and greasing the needle thrust bearing
Choosing the right lubricants is always a tricky question. SCHAUBLIN recommends a very low-viscosity, pure mineral oil for lubricating the bronze bearings. It’s not too difficult to get hold of, this lubricant especially as SWISS MACHINE in Le Locle—where I bought my little milling machine—gave me a litre of it a few years ago. For the needle thrust bearing, the manufacturer recommends KLUBER ISOFLEX LDS18 SP.4. Getting hold of small quantities of this (only a few grams are needed) is no easy task! After a few exchanges with David Samways on the specialised discussion forum Old Swiss Machine, I realised that this recommendation wasn’t essential: a small conduit brings spindle oil into the cavity containing the thrust bearing, and that’s enough to ensure it works properly. This suggestion answers my question, as when I first dismantled the spindle, there was no trace of grease around this bearing.
List of accessories
Accessories for the headstock
I do have a W12 collet drawbar (item no. 70-30), but it isn’t the right length: 155 mm rather than 162 mm. I’ll be sharing my experience of making such an accessory in a forthcoming blog post. As for the W12 collets, between those I already had for my SIXIS S101 milling machine and the ones I’ve bought, I think I’ve got everything I need.
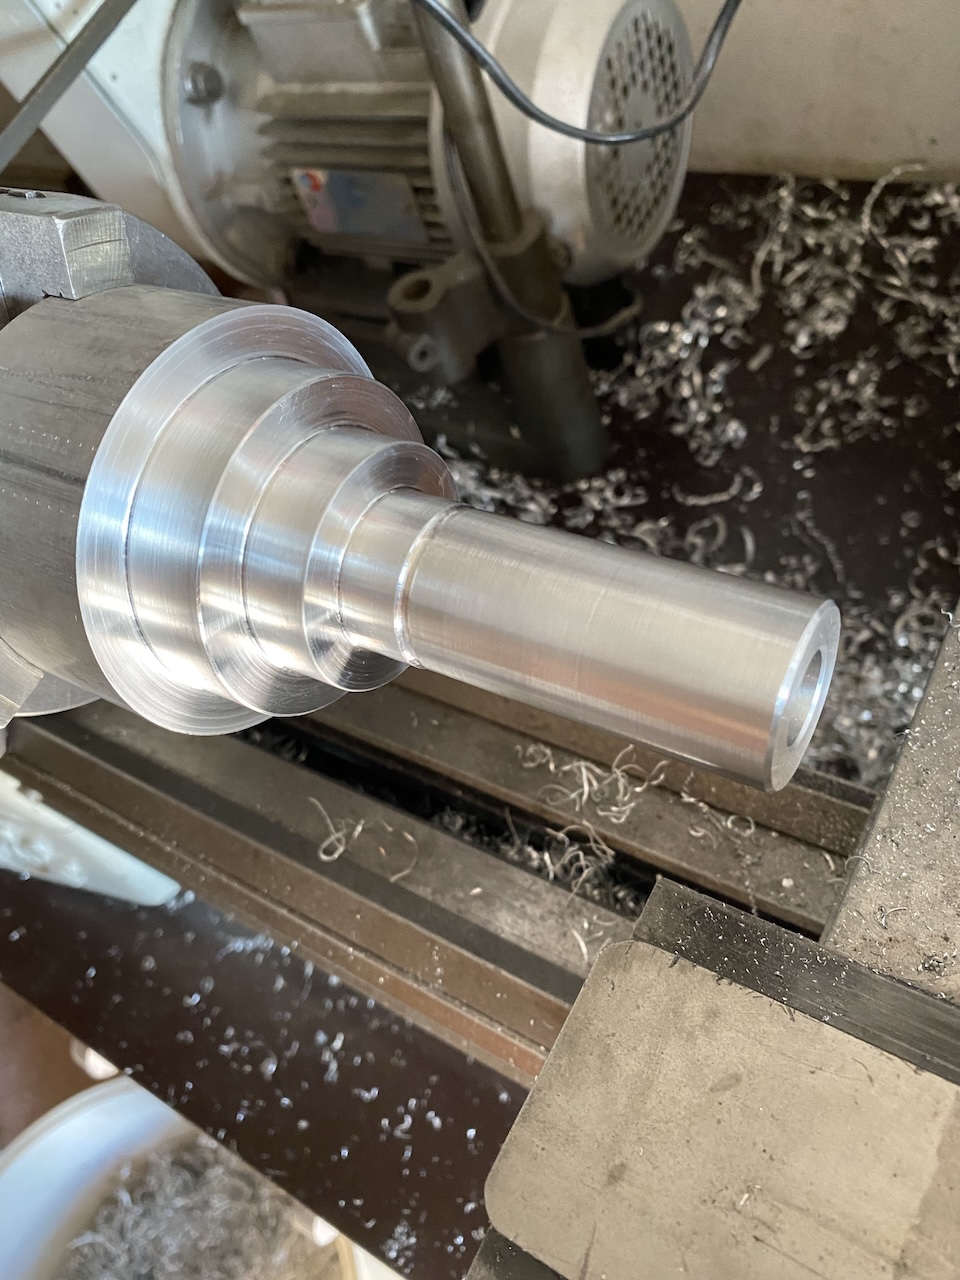
As for chucks and faceplates, I have two three-jaw chucks and a perforated faceplate plate with three raised clamps. Spot on! I soon realised that finding a four-jaw independent chuck for the SCHAUBLIN 70 was mission impossible. So I switched to another approach. My friend Grzegorz was kind enough to make me three chuck mounting plates for W12 spindle noses with a diameter of 85 one of them will hold a small, Ø80 mm four-jaw independent chuck ordered from PAULINOT in Germany. Some might say it won’t have the precision of a REISHAUER or RÖHM chuck, but is that really critical for an accessory like this one?
Accessories for the screw-operated carriage
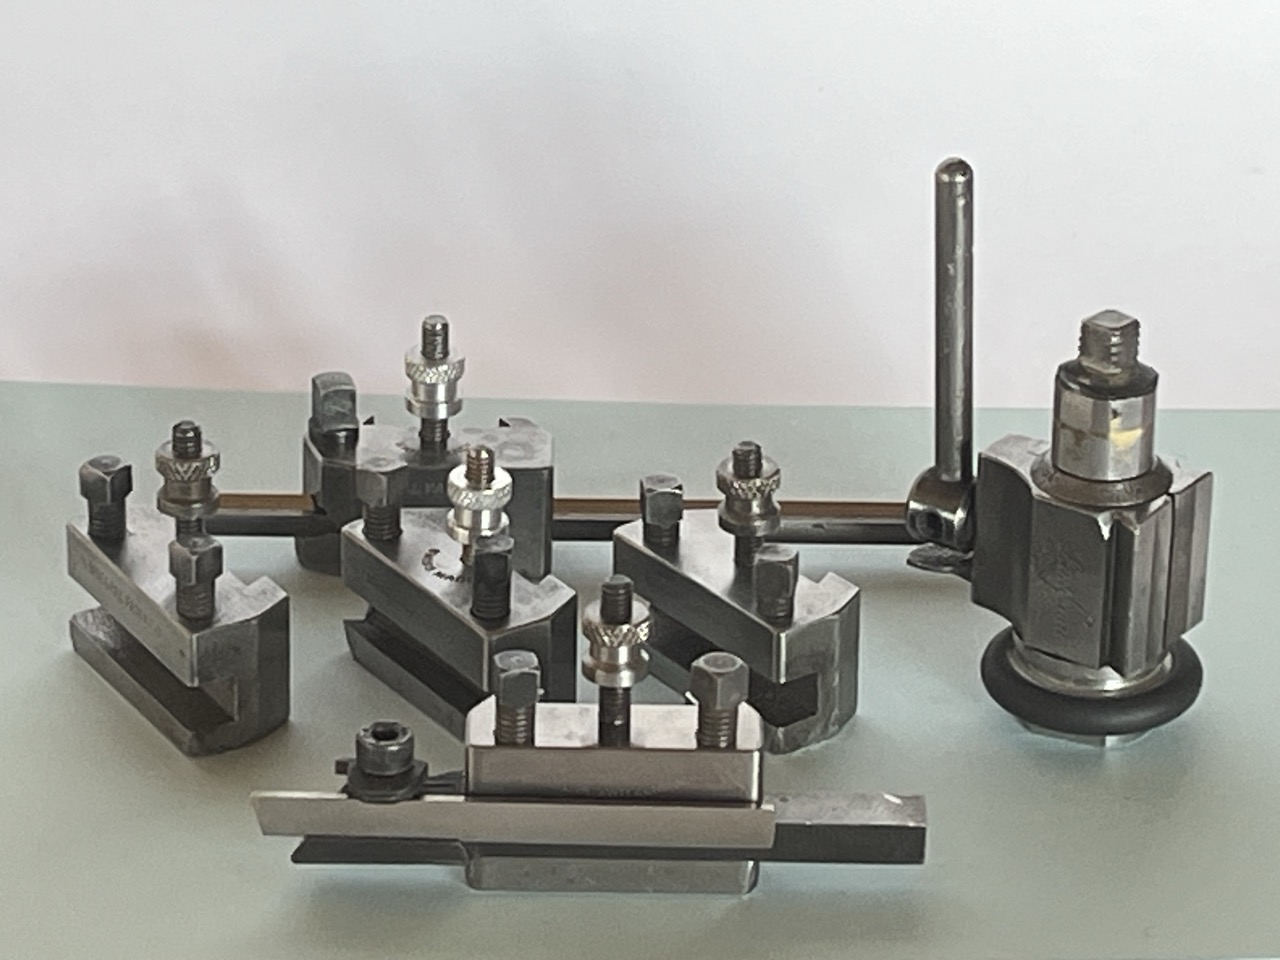
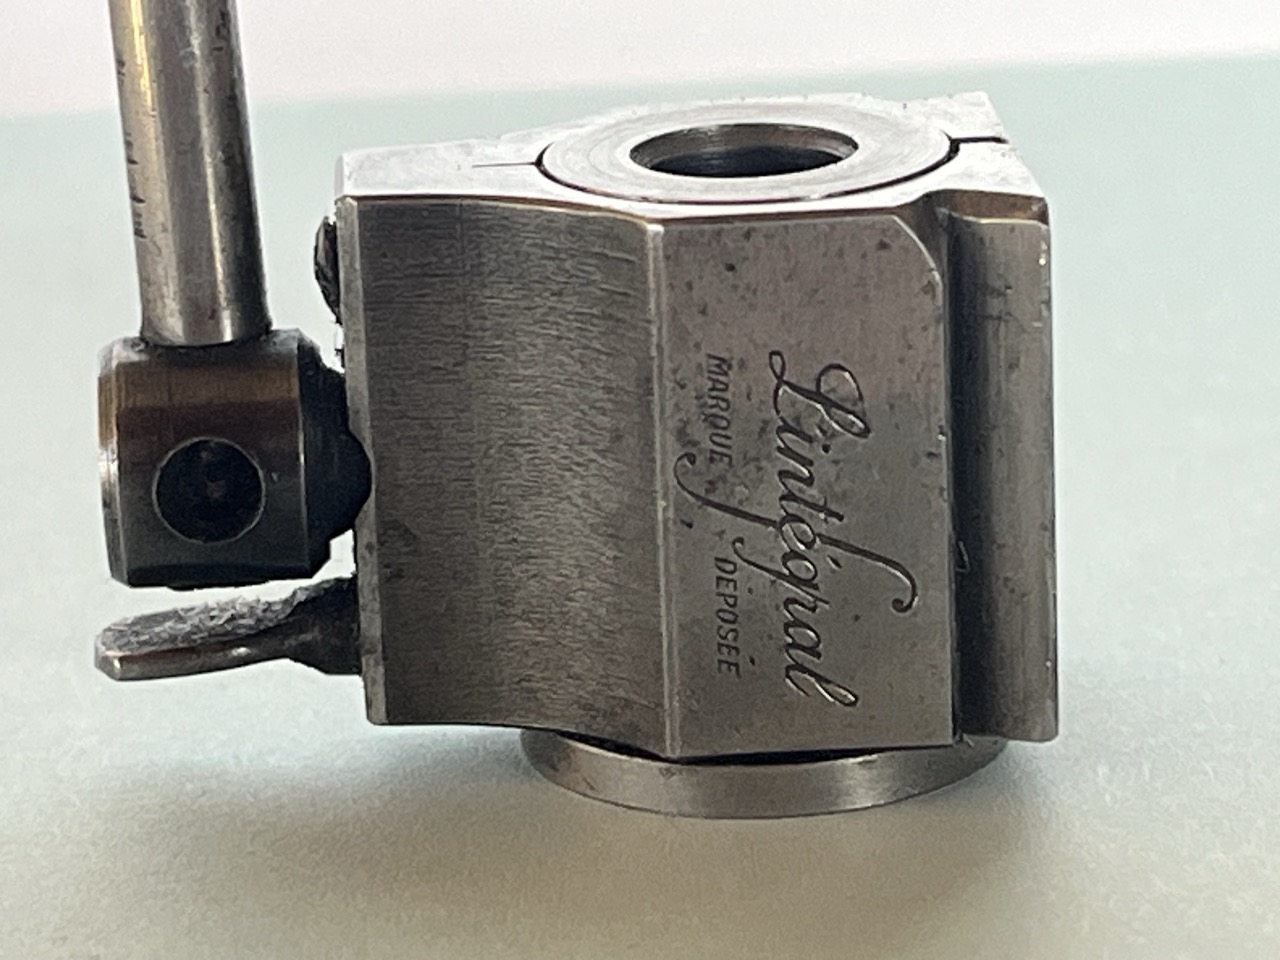
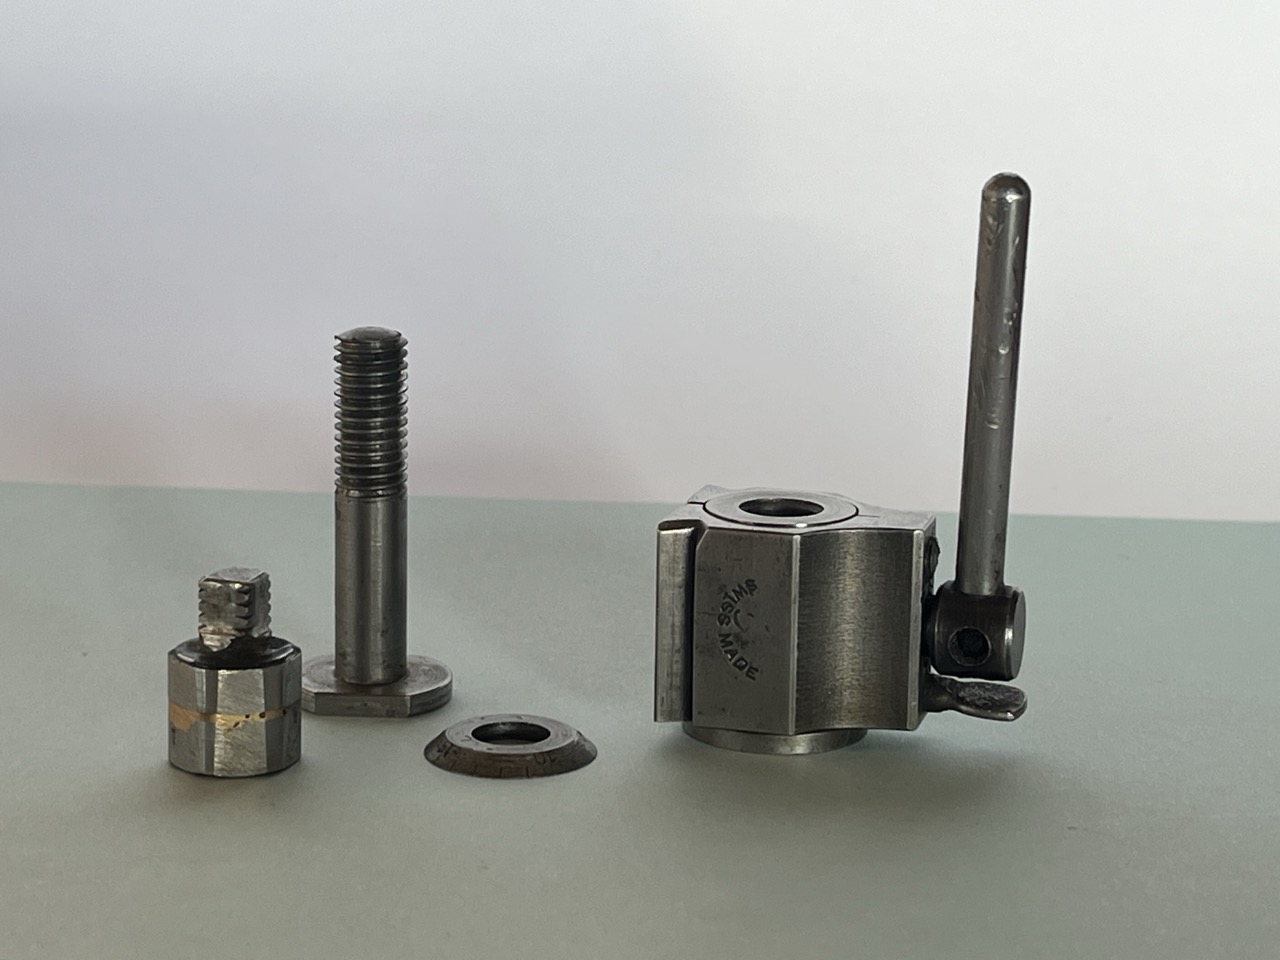
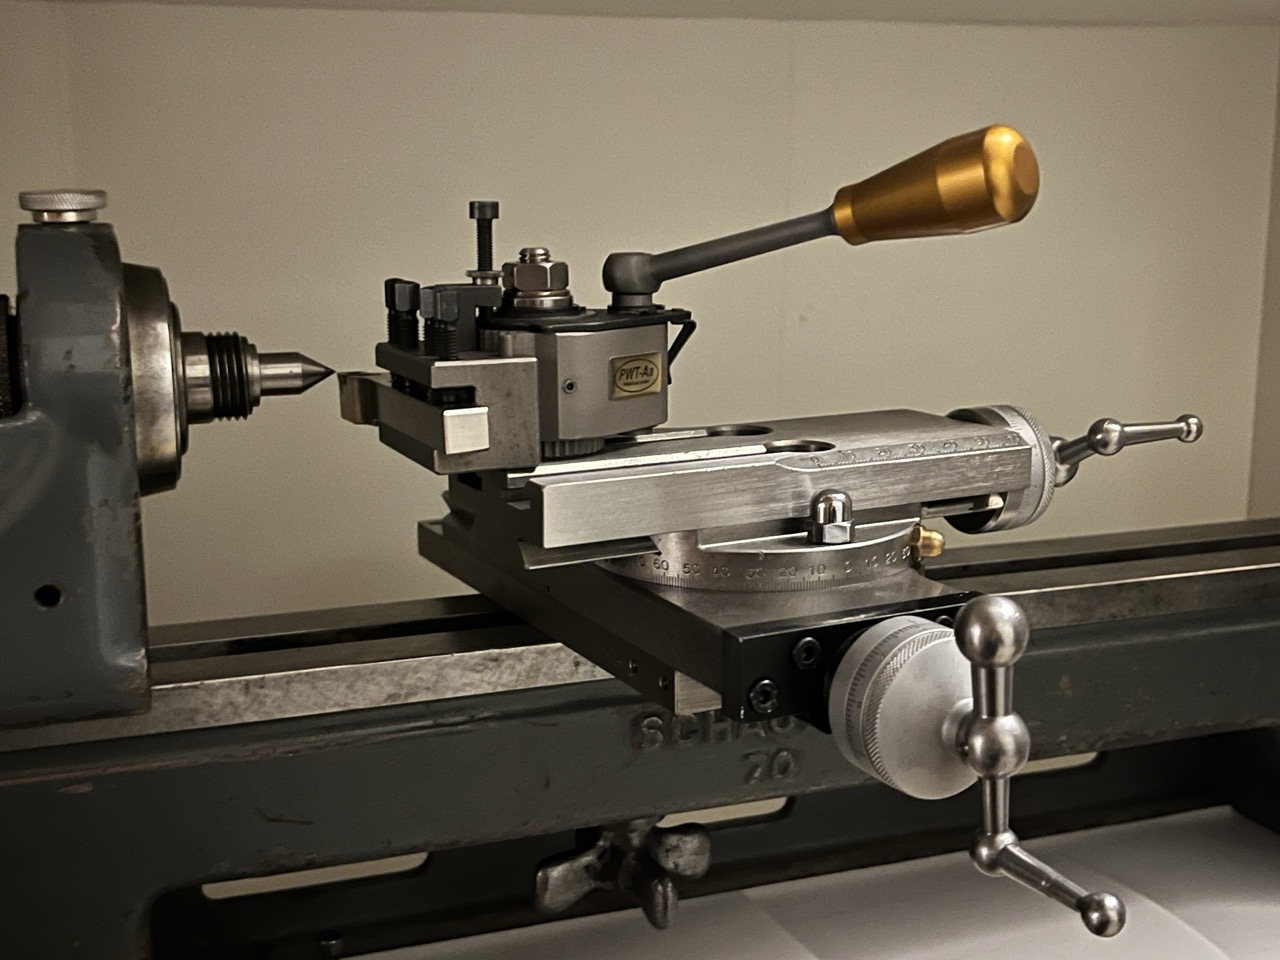
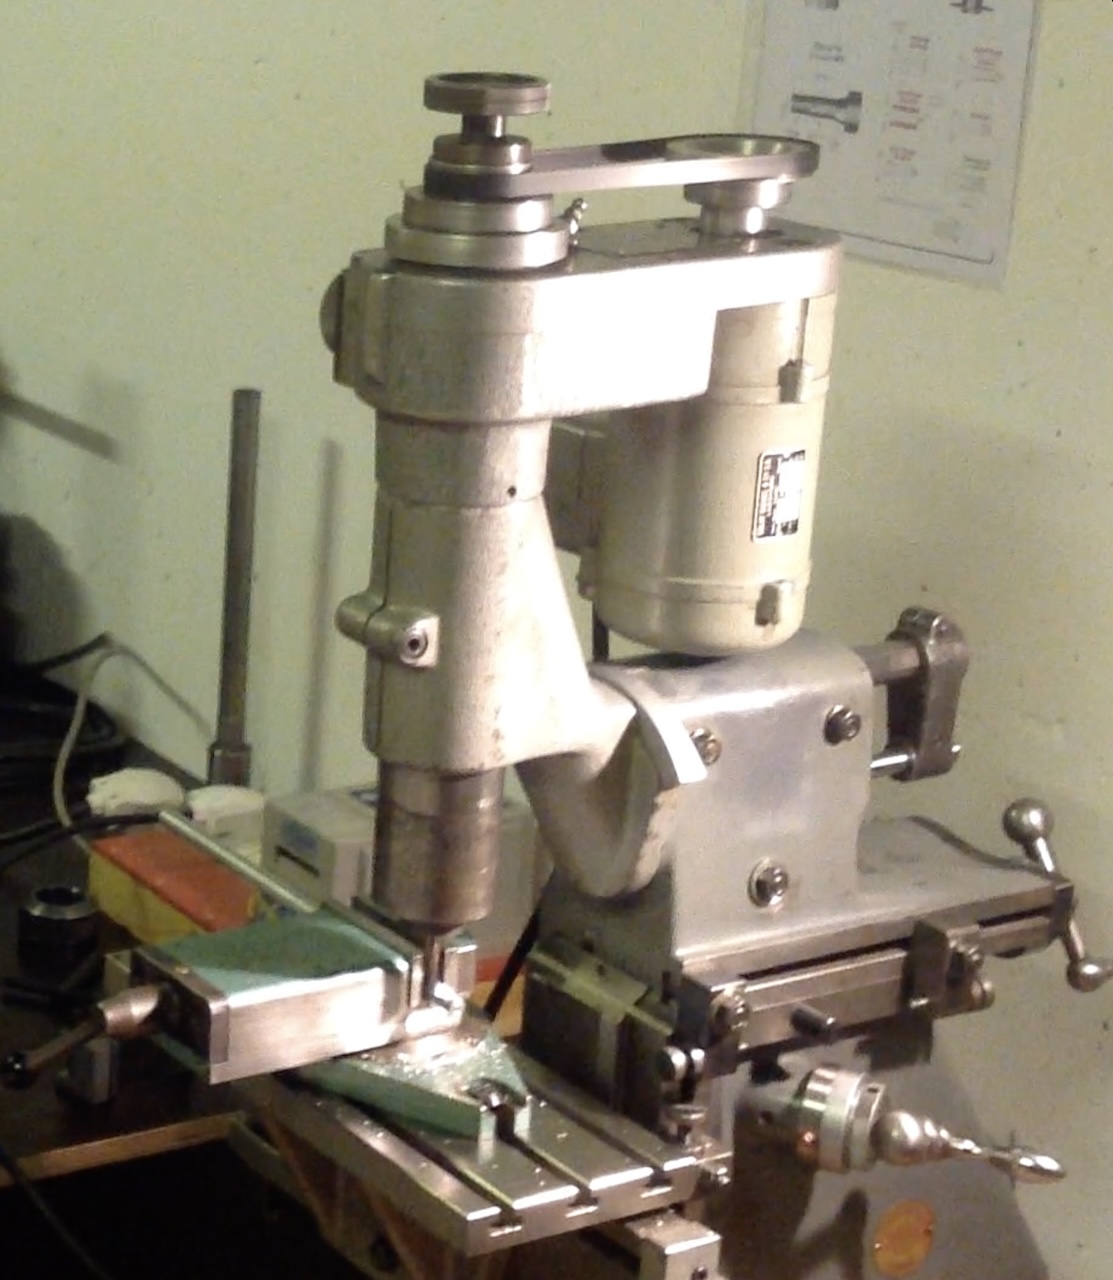
Among the lathe components I acquired was a tool post system made by L'INTÉGRAL. This accessory, designed by a man named Marcel GRAF, patented on behalf of the company PREMATEX S.A. and manufactured by them in the 1960s, is apparently the predecessor of the TRIPAN quick-change tool post system. Although its design suggests it may be less precise than a TRIPAN Series 0 or a MULTIFIX Model Aa, it would certainly have done the job. However, in the meantime I had purchased a MULTIFIX Aa set from PEWETOOLS in Germany and picked up a few additional tool holders here and there.
My inventory of turning tools and boring bars is gradually growing. For my first projects, I already have:
● a turning tool for DCGT070204 inserts,
● a boring bar for CCMT060204 inserts,
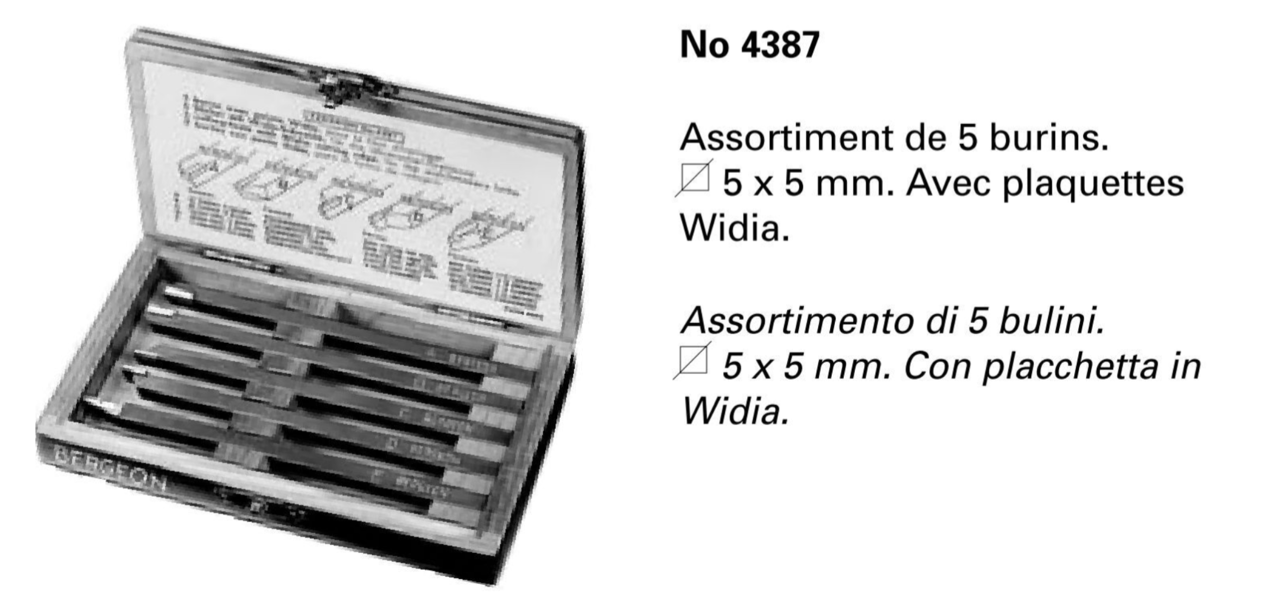
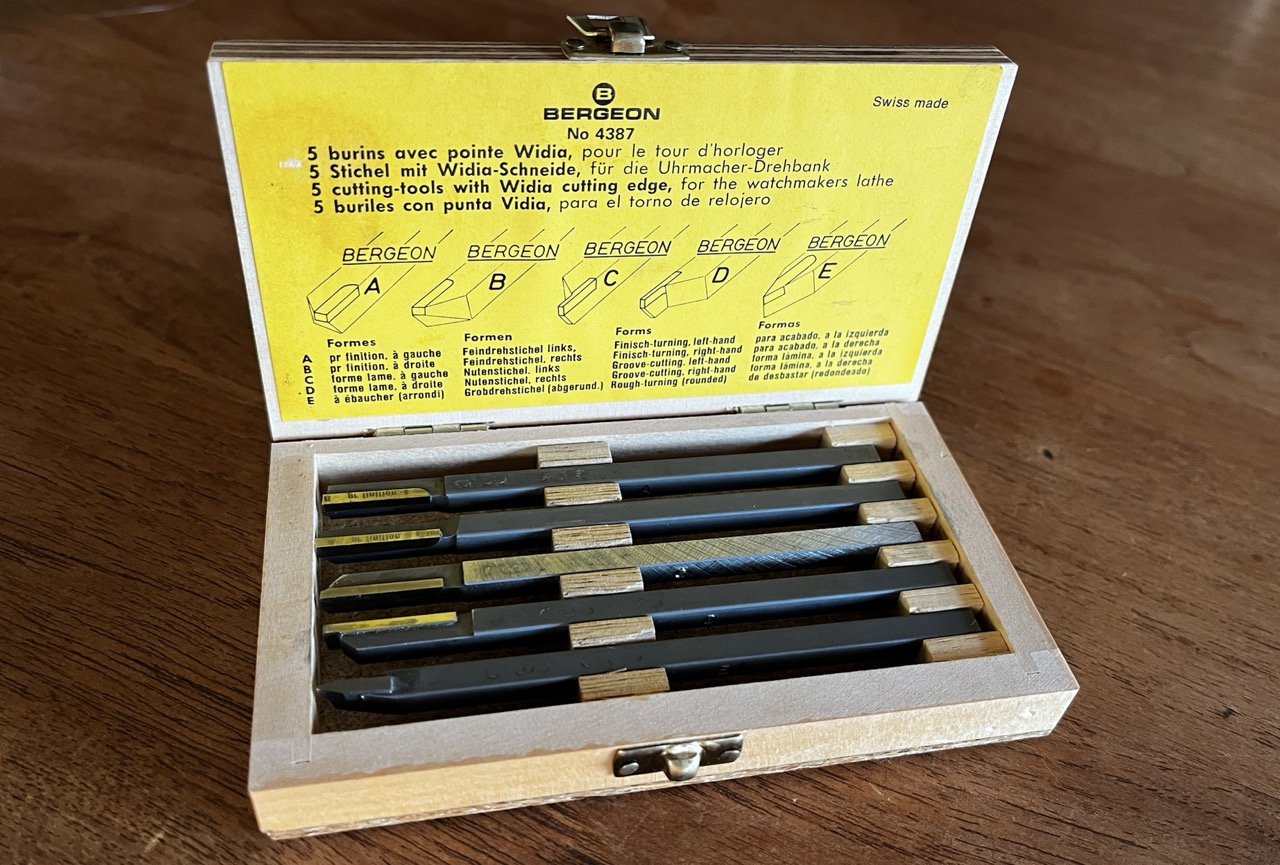
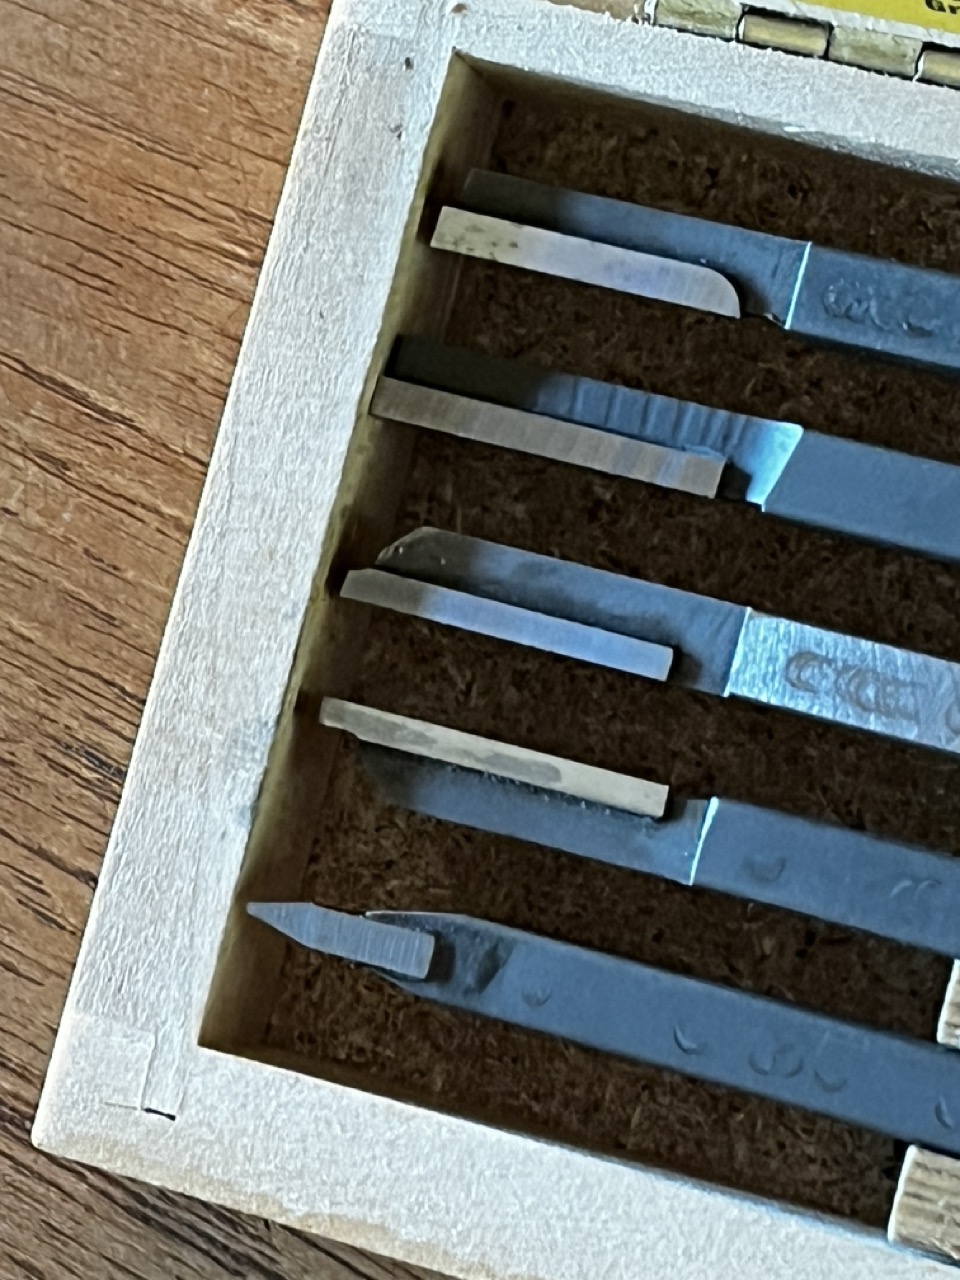
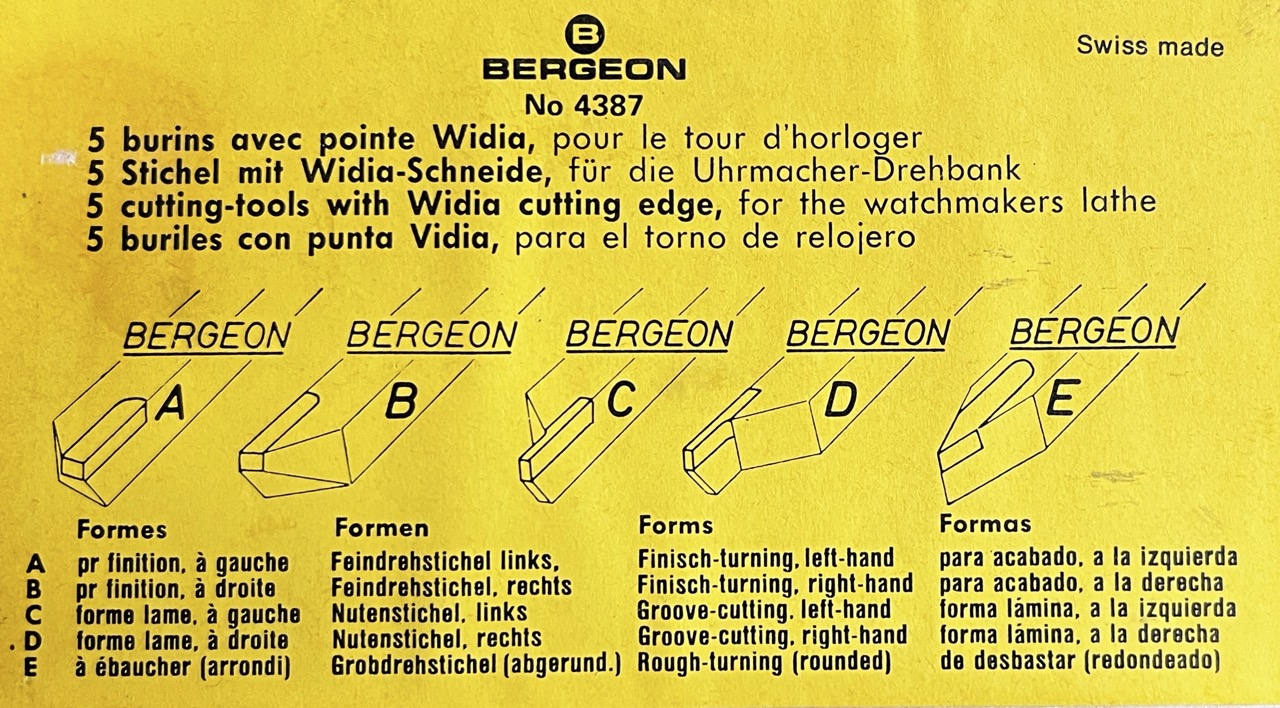
● a set of five BERGEON WIDIA tools found at the Landeron flea market,
● high-speed steel cutting blades.
Accessories for the tailstock
Amongst all the accessories I’d bought, there was indeed a GEPY live centre fitted with an SV70 shank. However, it wasn’t a type P (solid 60° tip), but a type C (hollow tip). So I had two options: either buy one, or make one myself. I also have a small LFA-brand drill chuck, but it’s not fitted with an SV70 shank; instead, it’s mounted on a MT1 Morse taper. A few small workshop projects and another blog post are on the horizon.
Back to the completed projets page
Mise en état de fonctionnement d'un tour SCHAUBLIN 70
Plutôt que d'acheter un tel tour complet, j'en ai acquis des éléments et accessoires à droite et à gauche. Je m'affaire à les assembler pour en faire un sympathique tour fonctionnel et précis.
Sept. 2026 – En-cours
Les tours SCHAUBLIN 65 et 70 ont gagné au fil des années une très solide réputation. Même s'il est toujours possible d'en acquérir un neuf, son prix catalogue est somme toute extrêmement élevé pour le machiniste amateur que je suis ! Les prix sur le marché de l'occasion des modèles plus anciens sont un peu plus abordables, mais n'en demeurent pas moins élevés. J'ai donc pris le parti d'acheter des ensembles incomplets, d’en sélectionner les meilleurs composants, et de me défaire des éléments surnuméraires sur le maché de l'occasion. Y ai-je gagné ? Pas sûr, en tout cas, pour l'heure je me fais plaisir à constituer un sympathique équipement, en espérant qu’il fonctionnera tip top.
Où en suis-je dans mes acquisitions
En bien, je dispose de l'essentiel : un banc dont les marques de grattage sont bien visibles ce qui est un gage de précision me semble-t-il, une poupée-fixe modèle années 1950 à paliers bronze avec butée à aiguilles NADELA AX-5-2542 de reprise des efforts axiaux, d'une table croisée dans une version plutôt récente, d'une contre-poupée modèle à vis et volant et d'un moteur de construction bien massive en 230 V.
Ce que j'ai dû faire : un plateau sur lequel fixer le banc et le moteur, reprendre l'électricité. Et ce qu'il me reste à faire pour l'heure (novembre 2026) : réinstaller une courroie d'entrainement.
Il me restait quelques chutes de contreplaqué bakélisé, dont une chute en 25 mm d'épaisseur. Il m'a semblé quelle était très rigide et approprié pour l'usage. Le manuel d'installation SCHAUBLIN donne quelques précisions quant au supportage en insistant bien que le banc devait reposer sur trois petits dômes et non sur un plateau d'établi en bois. J'ai donc ajouté deux plaques d'aluminium sous le piètement en prévoyant de fabriquer ultérieurement ces trois points de supportage.
Le moteur est quant à lui fixé sur un autre morceau de contreplaqué bakélisé articulé au moyen de deux charnières acquises il y a très longtemps dans un magasin d'accastillage. Deux rails en aluminium pour tasseaux en té offrent une marge de réglage pour le positionnement du moteur, et donc pour tendre la courroie plate.
Choix et adaptaion d'une motorisation
Plusieurs options s'offraient à moi : utiliser un moteur en 230 V, celui-là même qui était utilisé par la personne auprès de laquelle j'ai acquis des éléments et accessoires, ou bien utiliser un moteur triphasé un peu plus puissant, ou bien encore opter pour un moteur de machine à coudre industrielle. Mon choix s'est porté sur la solution la plus simple, sachant que rien ne m'empêche d'opter pour une autre option si celle-ci ne s'avère pas vraiment satisfaisante. Un moteur triphasé appelait l'usage d'un variateur de fréquence, et mon expérience m'a appris que les moteurs anciens (une quarantaine d'années ou plus) ne sont pas conçus pour fonctionner avec un variateur de fréquence. Ce dernier reconstruit un signal sinusoïdal qui est un peu haché et cela a pour conséquence une usure prématurée du moteur. L'option d'un moteur BLDC de machine à coudre a toutes les chances d'être efficace, mais elle nécessitait la réalisation d'une poulie à gradins et d'un système de supportage un peu plus élaboré, et le temps de réaliser tout ça me manquait.
Je suis plutôt satisfait du nouveau câblage. Ce vieux boitier en aluminium de fonderie (à moins que ce soit du Zamak) ainsi que cet interrupteur vintage chinés sont du plus bel effet. Le câblage a été fait avec la plus grande attention au moyen de connecteurs WAGO.
Mise en place d'une nouvelle courroie d'entrainement
Malheureusement, aucune des trois poupées fixes que j'ai acquises n'était pourvue de courroies en bon état. Traditionnellement, les courroies d'entrainement des tours SCHAUBLIN sont des courroies plates aboutées sur place : nulle nécessité de démonter la poupée fixe pour glisser une courroie sans fin autour de l'axe de la broche. Sauf que la procédure d'assemblage appelle un équipement que je n'ai pas et qui est somme toute onéreux. On trouve bien un tutoriel sur Internet pour se fabriquer cet équipement, mais une vidéo sur YouTube de S. Vance m'a convaincu que le démontage et remontage d'une poupée fixe de tour SCHAUBLIN 70 du modèle de la mienne était faisable sans trop risquer d'en altérer la précision. D'autant plus que la broche appelait une investigation. À l'heure où j'écris ces lignes, quelques courroies sans fin MEGADYNE et SPEEDFLEX sont en commande.
Huilage des paliers et graissage de la butée à aiguilles
Le choix des lubrifiants est toujours une question délicate. C'est une huile minérale pure très fluide qui est préconisée par SCHAUBLIN pour la lubrification des paliers. Pas trop difficile à se procurer d'autant plus que SWISS MACHINE au Locle, auprès de qui j'ai acquis ma petite fraiseuse, m'en a remis un litre il y a quelques années. Pour la butée à aiguilles, le fabricant préconise de la KLUBER ISOFLEX LDS18 SP.4. En s'en procurer des petites quantités (quelques grammes sont nécessaires) n'est pas une mince affaire ! Après quelques échanges avec David Samways sur le forum de discussion spécialisé Old Swiss Machine, j'ai compris que cette préconisation n'était pas indispensable : un petit conduit amène de l'huile de broche dans la cavité qui contient la butée à aiguille et ça suffit à en assurer le fonctionnement. Cette suggestion répond à mon interrogation, car lors d'un premier démontage de la broche, aucune trace de graisse autour de cette butée.
Inventaire des accessoires
Accessoires pour la poupée fixe
Je dispose bien d'une clé de serrage pour pince W12 (art. 70-30), mais elle n'est pas de la bonne longueur : 155 mm et non 162 . Ce sera le sujet d'un billet de blog à venir que de partager mon expérience de fabrication d'un tel accessoire. Question pinces W12, entre celles dont je disposais déjà pour ma fraiseuse SIXIS S101 et celles acquises. J'ai, je crois, ce dont j'ai besoin.
Question mandrins et plateau, je dispose de deux mandrins à trois mors et d'un plateau percé avec trois brides de serrage surélevées. Tip top ! Je me suis vite rendu compte que trouver un mandrin quatre mors indépendants pour SCHAUBLIN 70 était mission impossible. Aussi ai-je changé mon fusil d'épaule. Mon ami Grzegorz m'a sympathiquement fabriqué trois plateaux de fixation de mandrins pour nez de broche W12 en Ø85 mm ; l'un d'entre eux recevra un petit mandrin quatre mors indépendants Ø80 mm commandé auprès de PAULINOT en Allemagne. D'aucuns diront qu'il n'aura pas la précision d'un mandrin REISHAUER ou RÖHM, mais est-ce vraiment critique pour un tel accessoire ?
Accessoires pour la table croisée
Parmi les éléments de tour que j'ai acquis se trouvait un système porte-burins de la marque L'INTÉGRAL. Cet accessoire conçu par un dénommé Marcel GRAF, breveté pour le compte de l'entreprise PREMATEX S.A. et fabriqué par cette dernière dans les années 1960, est semble-t-il l'ancètre du système porte-burins TRIPAN. Même si sa conception laisse entrevoir qu'il semble moins précis qu'un TRIPAN série 0 ou un MULTIFIX modèle Aa, il aurait certainement pu faire l'affaire. Sauf qu'entre temps j'avais acquis un ensemble MULTIFIX Aa auprès de PEWETOOLS en Allemagne et chinés ci et là quelques portes-burins supplémentaires.
L'inventaire de burins et barres à aléser se constitue au fur et à mesure. Pour mes premiers projets je dispose déjà:
● d'un burin à charioter pour inserts DCGT070204,
● d'une barre à aléser pour inserts CCMT060204,
● d'un jeu de cinq burins BERGEON WIDIA chinés à la brocante du Landeron,
● de lames à tronçonner en acier rapide.
Accessoires pour la poupée mobile
Au milieu de tous les accessoires acquis, il y avait bien une contre-pointe tournante GEPY munie d'une queue SV70. Mais elle n'était pas du type P (pointe pleine à 60°), mais de type C (pointe creuse). De deux choses l'une, soit j'en acquiers une, soit j'en fabrique une. J'ai aussi un petit mandrin de perçage de la marque LFA, mais il n'est pas sur une queue SV70, mais sur un tasseau à conne morse n°1. Quelques petits projets d'atelier ainsi qu'un autre sujet de blog en perspective.
Retour à la page des projets réalisés